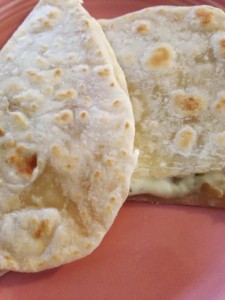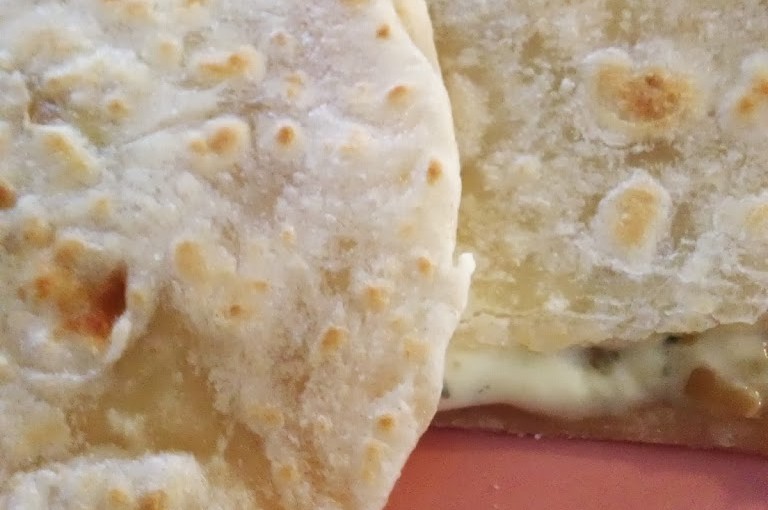
I first made these yesterday for myself as a quick dinner since I had the fresh tortillas on hand. They were so good, I had to fix them again for lunch today and am eating one as I type. Good thing none of you can see the fingerprints on the keyboard! By the way, if any of you know my son, do not share that his mother was eating while on the laptop because it is a forbidden activity…Shhhhh!
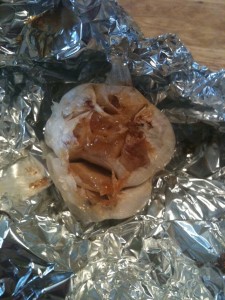
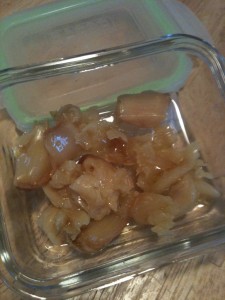
These quesadillas are a combo of three of my very favorite foods: garlic, cheese and bread. First, the garlic. Roasted garlic is easy to make and I keep it on hand in the fridge because it has so many uses. Click here to find out how to roast garlic.
Second, the cheese. I used Gorgonzola. Gorgonzola is a bleu cheese from Italy made from cow’s milk. It is salty and the strong flavor comes from the veins. It is an easy to crumble cheese and melts well. It is also a great pairing with the potent garlic flavor.
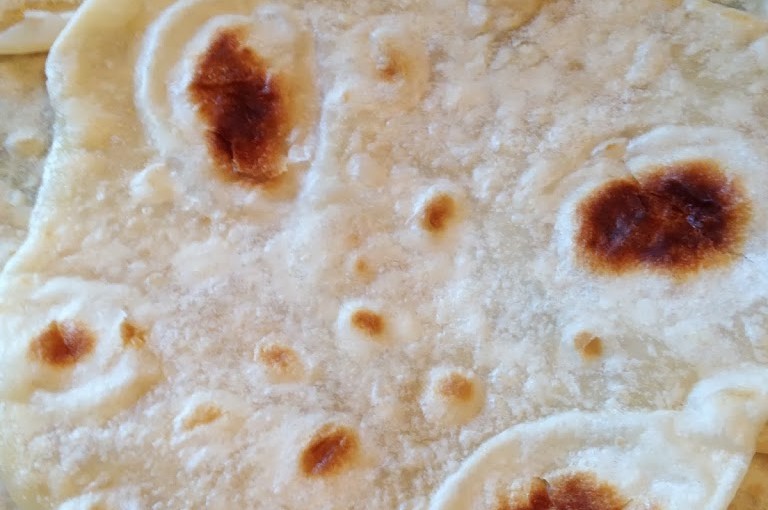
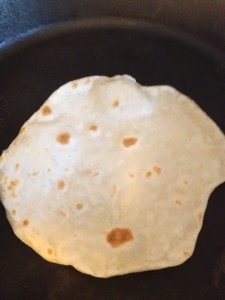
Lastly, the bread. In this case, fresh, soft, warm flour tortillas. Here is the link to the recipe for the flour tortillas. They are so simple to prepare and cost less than pre-packaged tortillas.
Okay, now you have your ingredients, time to put the quesadillas together.
 |
||||||
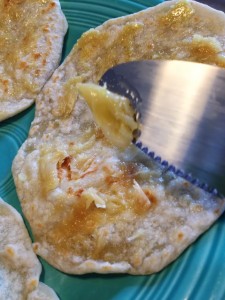
| Spread roasted garlic on one tortilla |
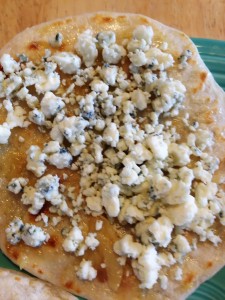 |
| Sprinkle cheese over the garlic |
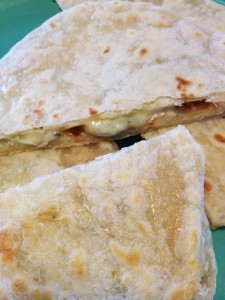 |
| Place a second tortilla on top and heat in a skillet over medium heat until the cheese melts, turning once. |
I am one of those people who has a slight addiction to Pinterest. It’s not a “hi, my name is Carrie and it’s been five minutes since my last Pin” kind of addiction, but I can get caught up designing my dream kitchen and reading the work-outs that take less time to actually do then it takes to read and Pin. Of course, I love reading recipes. Lately, I have been really interested in the recipes for ingredients that I would typically buy when making a dish such as cheese, breads, and this one for homemade flour tortillas.
I used to have a favorite Mexican restaurant that made their flour tortillas fresh on a griddle just outside the kitchen so you could watch them being prepared. They were brought to the table warm and soft…so yummy! But, I honestly had never thought to make my own until seeing all of the Pinterest posts. How simple it is! Only four ingredients, if you count the water, and less than 30 minutes. This is a fun recipe to cook with the kids too. They can help knead and roll the dough.
My adaptation to the recipe is that I used Coconut Oil and a little butter instead of shortening (so technically, five ingredients). There has been a lot of information available about the health benefits of Coconut Oil. I’m not a doctor, so check out the research for yourself. Click here for a great resource about Coconut Oil. I have been using it in place of my facial moisturizer, body lotion, to rinse my mouth and on the ends of my hair with great results. I have also been using Coconut Oil and Coconut Milk in the kitchen. Coconut Oil is a saturated fat, which contrary to the push for chemically altered poly unsaturated fats, our bodies need for things like brain cell health and fuel.
Flour Tortillas
2 3/4 C All-purpose flour
3 T Coconut Oil & 2 T Cold Butter (or 5 T Shortening)
3/4 t salt (I used Kosher salt)
3/4 C very warm Water
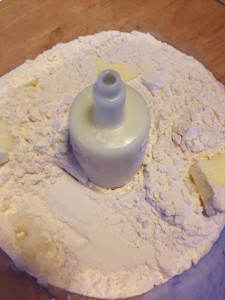
Put the flour, salt and oil/butter in a processor and pulse until combined. Slowly add the water to the mixture on a low setting until the dough forms a ball in the processor.
Put on a lightly floured surface and knead for 2 minutes.
Divide the dough into 10-14 pieces depending upon the size of the tortillas you desire. Roll the pieces into balls and let sit while you preheat the skillet. Heat a non-stick skillet over medium heat.
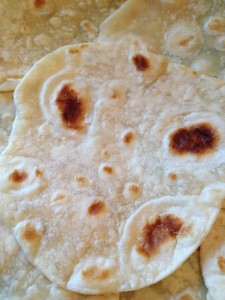
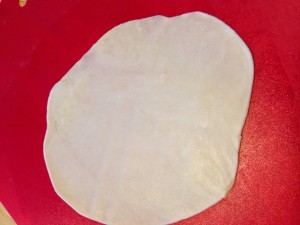
Roll each ball very thin. Place one or two at a time in the skillet. When the dough begins to bubble, flip the tortilla over. It only takes about a minute for each side. Don’t over-cook or they will get tough.
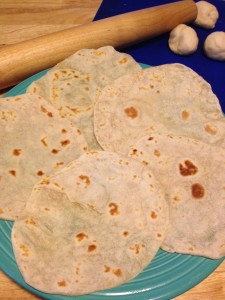
Remove from the pan to a serving dish. Use for tacos, burritos, quesadillas or enchiladas. You can also make fresh chips by brushing lightly with olive oil, cutting into triangles with a pizza cutter, putting the pieces on a baking sheet, sprinkling with salt and baking at 350 degrees for about 5-8 minutes until the edges are a golden brown.
If you don’t use the tortillas right away, allow them to cool and store in the refrigerator in a resealable bag.
Once you have warm, soft fresh tortillas, you won’t mind the few extra minutes of prep time. What else can flour tortillas be used for?? Here is one idea: a scrumptious Roasted Garlic and Gorgonzola Quesadilla.
- 2¾ C All-purpose flour
- 3 T Coconut Oil & 2 T Cold Butter (or 5 T Shortening)
- ¾ t salt (I used Kosher salt)
- ¾ C very warm Water
- Put the flour, salt and oil/butter in a processor and pulse until combined. Slowly add the water to the mixture on a low setting until the dough forms a ball in the processor.
- Put on a lightly floured surface and knead for 2 minutes.
- Divide the dough into 10-14 pieces depending upon the size of the tortillas you desire. Roll the pieces into balls and let sit while you preheat the skillet. Heat a non-stick skillet over medium heat.
- Roll each ball very thin. Place one or two at a time in the skillet. When the dough begins to bubble, flip the tortilla over. It only takes about a minute for each side. Don't over-cook or they will get tough.
How does it happen that so many weeks have gone by since I last posted?? My son and I have been spending most of the summer at the lake with family and friends. I really need to get an Internet connection here! Instead of typing, I just relax and take in this amazing view!
When it’s warm outside, I cook outdoors on the grill as much as possible. Grill cooking tends to be healthier than some of the heavier, gravy-laden comfort foods of the cold weather months. Especially when we steer away from the higher carbs for the cleaner eating proteins and vegetables. And, honestly, I’ve yet to find a vegetable that doesn’t taste wonderful roasted over a flame.
I typically try to mirror the spices I use to marinade or rub the meat in flavoring the vegetables. Simply toss the vegetables in olive oil and sprinkle with spices. If I am going to serve the vegetable with a Balsamic reduction, I typically just season with salt and pepper. Place in a grill pan and grill while the meat is cooking, tossing occasionally. I use a grill pan/veggie basket to prevent the vegetables from falling through the grill rack. Click here to see the type of grill pan that is my favorite because it fits next to the meat on most grills, and the holes help the vegetables to roast evenly and quickly. Most vegetables take about 20 minutes.
Here are several of my favorites:
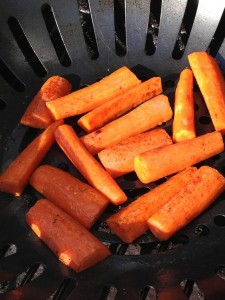 |
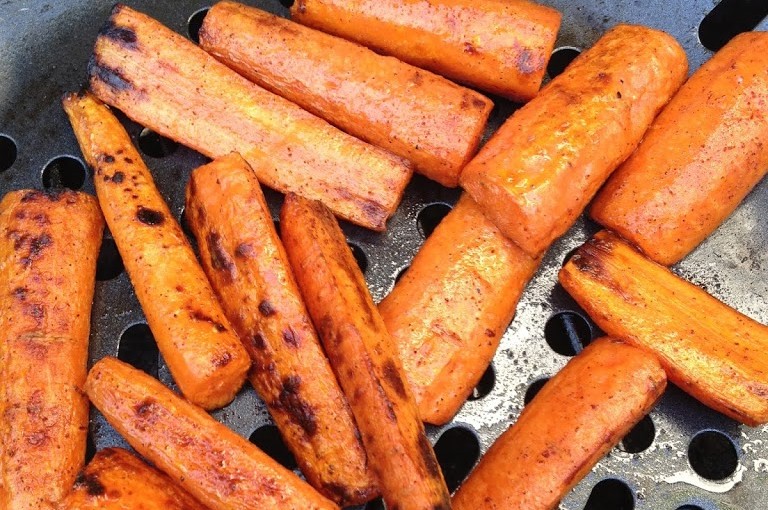
| Cinnamon Carrots: toss with olive oil, salt and cinnamon |
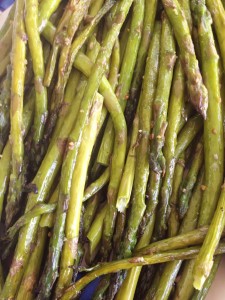 |
| Grilled asparagus: toss with olive oil, salt, pepper and minced garlic |
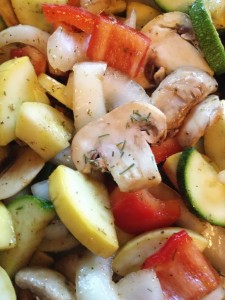 |
| Mixed vegetables (onion, squash, red pepper & mushroom): toss with olive oil, salt, pepper and dill |
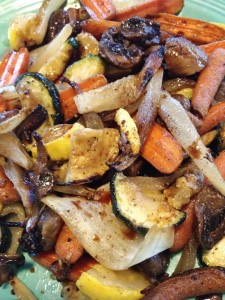 |
| Grilled onion, squash, carrot & mushroom: toss with olive oil, salt & pepper and serve with balsamic vinegar |
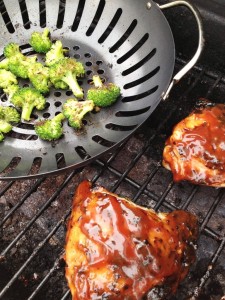 |
| Broccoli: toss with olive oil and grill seasoning |
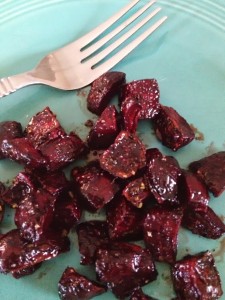 |
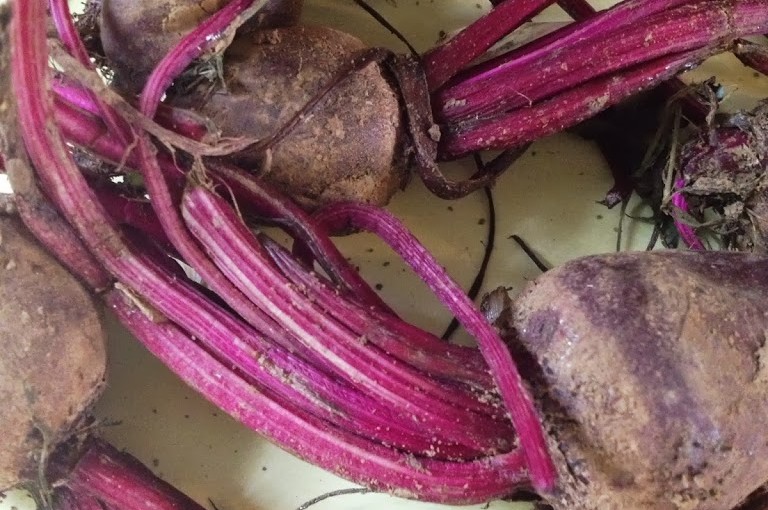
| Beets: toss with olive oil, salt, pepper & thyme and serve with Raspberry Balsamic (Click for recipe) |
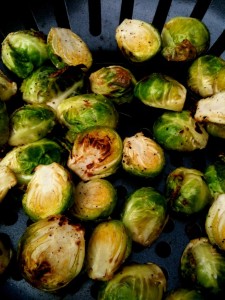 |
| Grilled Brussel Sprouts: toss with olive oil and salt & pepper |
What are your favorite ways to grill vegetables???
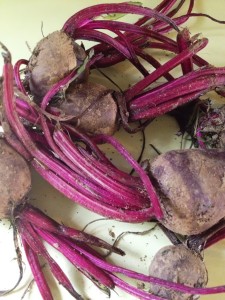
I used to think that beets came either in a can or pickled in a jar. My mother ate canned beets two ways: cold on a salad or warmed up (and slightly mushy) with a splash of vinegar. Come to think of it, at the time, I ranked cooked beets in the same category as cooked spinach because of those mushy, vinegary attributes. I typically just turned my nose up. I thought the pickled beets were just used for color and I moved them out of the way so I could get to the tasty pickled eggs hiding in the jar. I didn’t know what I was missing. Hurray for growing up and discovering those foods can be very tasty when prepared properly!
Beets are a root vegetable that are high in potassium. The leaves, which taste similar to spinach (funny that I had just mentioned spinach!) are a good source of vitamin A, iron and calcium. Buy beets that are smaller and have their root and at least two inches of stalk still attached. When cut too short, they will “bleed.” They keep for several weeks in a cool place.
I grew to appreciate the colorful root vegetable, but didn’t truly fall in love with beets until I roasted them. I stand by my conviction that all vegetables taste amazing when roasted, especially over an open flame. Cooking them slow and allowing all of the natural sugars to caramelize enhances the flavors. Some of my favorites are beets, broccoli, cauliflower, asparagus and brussel sprouts.
This recipe uses fresh thyme, though you could use dried thyme if you don’t have fresh handy. Just remember to use less when you use dried spices because the flavor can be more intense. Thyme has a robust, slightly lemony flavor and a woodsy, warm aroma. It can dominate other flavors, so it goes well with garlic, onions, red wine, meats and tomato based dishes. Just pinch the stem and pull down to remove the leaves. The leaves are small enough to just sprinkle into the dish or you can put a rough chop on them which can help release the flavor.
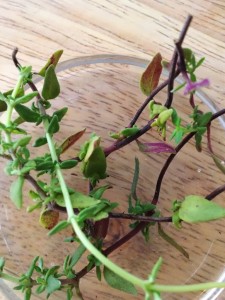 Roasted Beets with Thyme (adapted from Barefoot Contessa)
8-10 Medium Beets, peeled and cut in 1 inch dice
1 1 /2 t Fresh Thyme
2 t Salt, sea salt or kosher salt
1- 1 1/2 t coarse ground Rainbow Peppercorns
3 T Olive Oil (I used the peppery Arbosana from The Olive Twist)
Preheat oven to 400 degrees or the grill to medium or medium-high (if your grill has a thermometer, heat to 300-400 degrees).
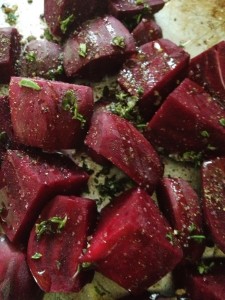 Place the beets on a baking sheet. Drizzle with the olive oil and sprinkle on the spices. Toss together to coat the beets.
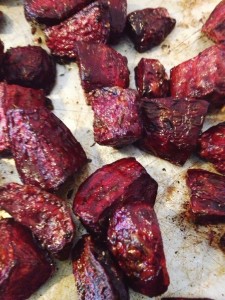 Roast in the oven 35-40 minutes or transfer to a grill pan/basket and grill for 20-30 minutes. Turn occasionally. Cook until tender.
Raspberry Balsamic Reduction
3 T Raspberry Balsamic (I also get my balsamic from The Olive Twist)
1 T juice (the original recipe called for orange juice, I used some peach mango because it was in the fridge)
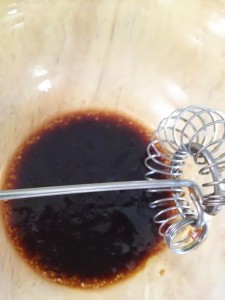
Whisk together the vinegar and the juice. Add a pinch of salt. Bring to a boil and cook for 2-3 minutes.
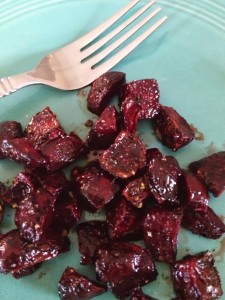
Remove the beets from the oven or grill and toss immediately with the reduction. Sprinkle with a little more salt and pepper to taste.
These beets make a perfect side dish for grilled flank steak, though I just eat them by themselves for a tasty lunch! They would also be perfect as leftovers on a salad. Top mixed greens with thin slices of the flank steak, beets and crumbled bleu cheese. Make a vinaigrette with the Raspberry Balsamic, juice and a drizzle of olive oil. Serve with big, crunchy croutons. Click here for my crouton recipe.
Let me know what you think about beets after trying them roasted! Enjoy!!
