Lobster Facts: Lobsters can grow up to four feet long and weigh as much as 40 pounds.
It is believed that lobsters can live as long as 100 years.
And, lobsters do not mate for life (this one bummed me!).
National Lobster Day was in June (15th). I promised to share a post on how easy it is to grill lobster. I decided to share a simple steaming method too because National Macaroni and Cheese Day (July 14) is today, and Lobster Mac & Cheese is simply amazing! Use my Grown-up Mac & Cheese recipe substituting lobster tail chunks for the bacon and seasoning with Changing Seasonings Calypso Blend or for an extra bite, Spicy Shrimp Blend.
Lobster is soooo much better (& cheaper!) when you do it yourself. Tails are a great beginner lobster dish. Unless you are doing surf & turf and lobster isn’t the main attraction, plan on two tails per person. I recently purchased beautiful tails, about 4-6 oz each, for $3.99 a tail on sale. I went out to dinner soon after and the restaurant wanted $36 for a two 6 oz tail dinner. Crazy! Steamed or grilled they are quick and easy to prepare.
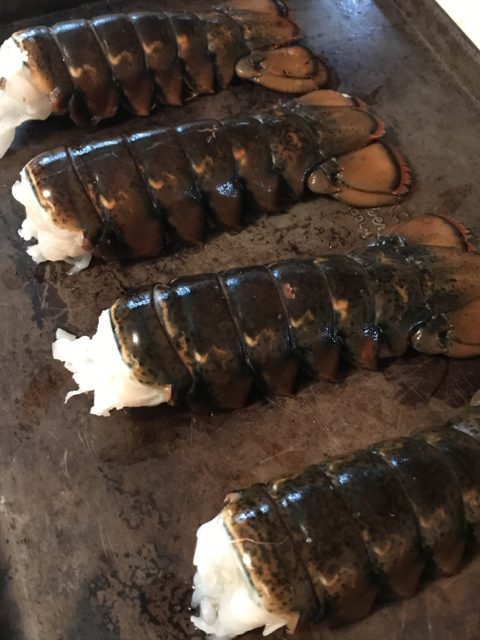 So let’s talk basic lobster first. Buying and cooking fresh whole lobster is a post of it’s own. I prefer tails for several reasons including price, ease of storage, and ease of preparation. They provide the perfect amount of the tender buttery meat needed with less work. The tails are arguably the best part of the lobster. Lobster are typically categorized by where they grow, cold water (like Maine) or warm water (like Florida or the Caribbean). It is rumored that the lobsters from cold water are the best texture and flavor. You can ask the grocer where the tails are from. If they aren’t marked, they are probably warm water. Cold water lobster are sometimes a bit more expensive, but worth the extra cost. Honestly, here in the Midwest, I get excited to find good lobster on sale regardless of where it came from. Use your eyes and nose when choosing tails. Though shells vary, you can sometimes tell by the markings where the lobster originated. Black spots on the shell or yellow banding is a sign of warm water lobster. Regardless of warm or cold water, be sure that the meat is white. Yellowing or black spots on the meat are a sign of bad lobster. The lobster should smell “clean,” not overly fishy smelling or have an ammonia smell.
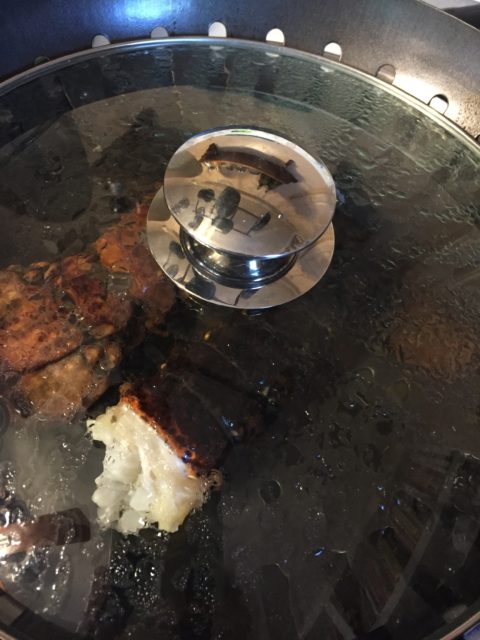
So first, steaming. Steaming lobster tails is a simple and healthy way to prepare them. Steaming also preserves the flavor instead of boiling it away. You don’t need any fancy equipment to steam, just a large pot (like your spaghetti pot), a splatter guard, steaming basket or even a grill pan/basket (pictured here), and a lid. Fill the pot with water. You can add a quartered lemon, salt, and a bay leaf for extra flavor. Bring the water to a boil. Set your choice of steamers on the pot and place the lobster tails on top. Three to four tails will fit. Put the lid on top of the tails. Steam for eight (8) minutes. The meat will be firm, turn white and be opaque. Opaque means non-transparent or not able to see through.
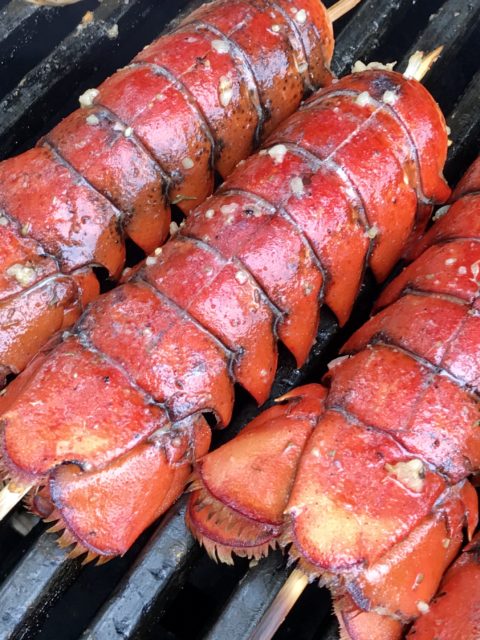
Grilling lobster tails is just about as quick. There are a couple additional steps. The extra flavor will come from a mixture of melted butter, minced garlic, cracked peppercorn, and lemon juice used for basting. I added Changing Seasonings Calypso Blend. Put a skewer through the tail to keep it from curling as it cooks. If they are wooden skewers, be sure to soak them in water for 10-20 minutes before using so that they won’t burn on the grill. Nex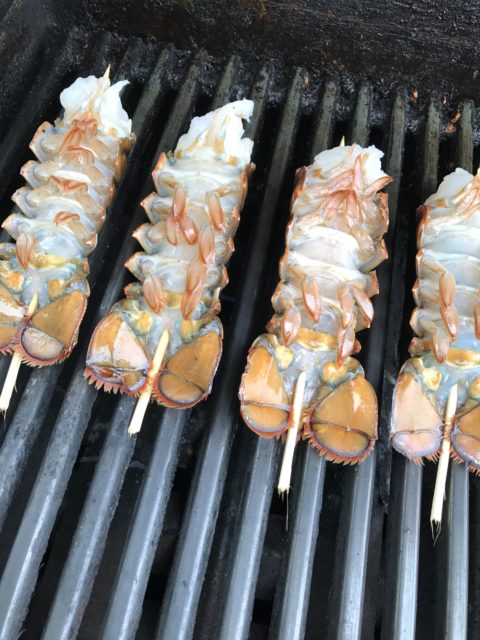 t, cut the shell from the meaty end to the last segment of the tail and pull apart slightly. This will allow the butter to get to the meat while basting. Put the tails, shell side down, on the grill at medium heat. Grill for 7-8 minutes with the lid down. Flip the tails over and baste generously being sure to work the butter mixture into the opened shell. Continue cooking with the lid down for another 5 minutes. Again, the meat will be firm, white and opaque. Baste once more before serving. Because the shells are already cut, it is easy to remove the meat by just pulling the shell apart and pushing the meat up through the shell.
Serve lobster with extra melted butter for dipping and lemon wedges. Once you discover how simple it is to cook lobster yourself, and how much money you will save, you will eat like royalty more often. Oh, and speaking of that, here is one more lobster fact: lobster was once considered a pauper’s meal because it was so readily available. Now we pay $36 for a couple of tails at a restaurant, or not.
Vinaigrette dressings are super simple to prepare. The basic ingredients include oil, spices, herbs and/or other flavoring (mustard, jelly or jam, honey, etc.), and vinegar at the ratio of about 1 part vinegar to 3 parts oil. You don’t even need to have fancy vinegar or oil, apple cider vinegar and vegetable oil will work.
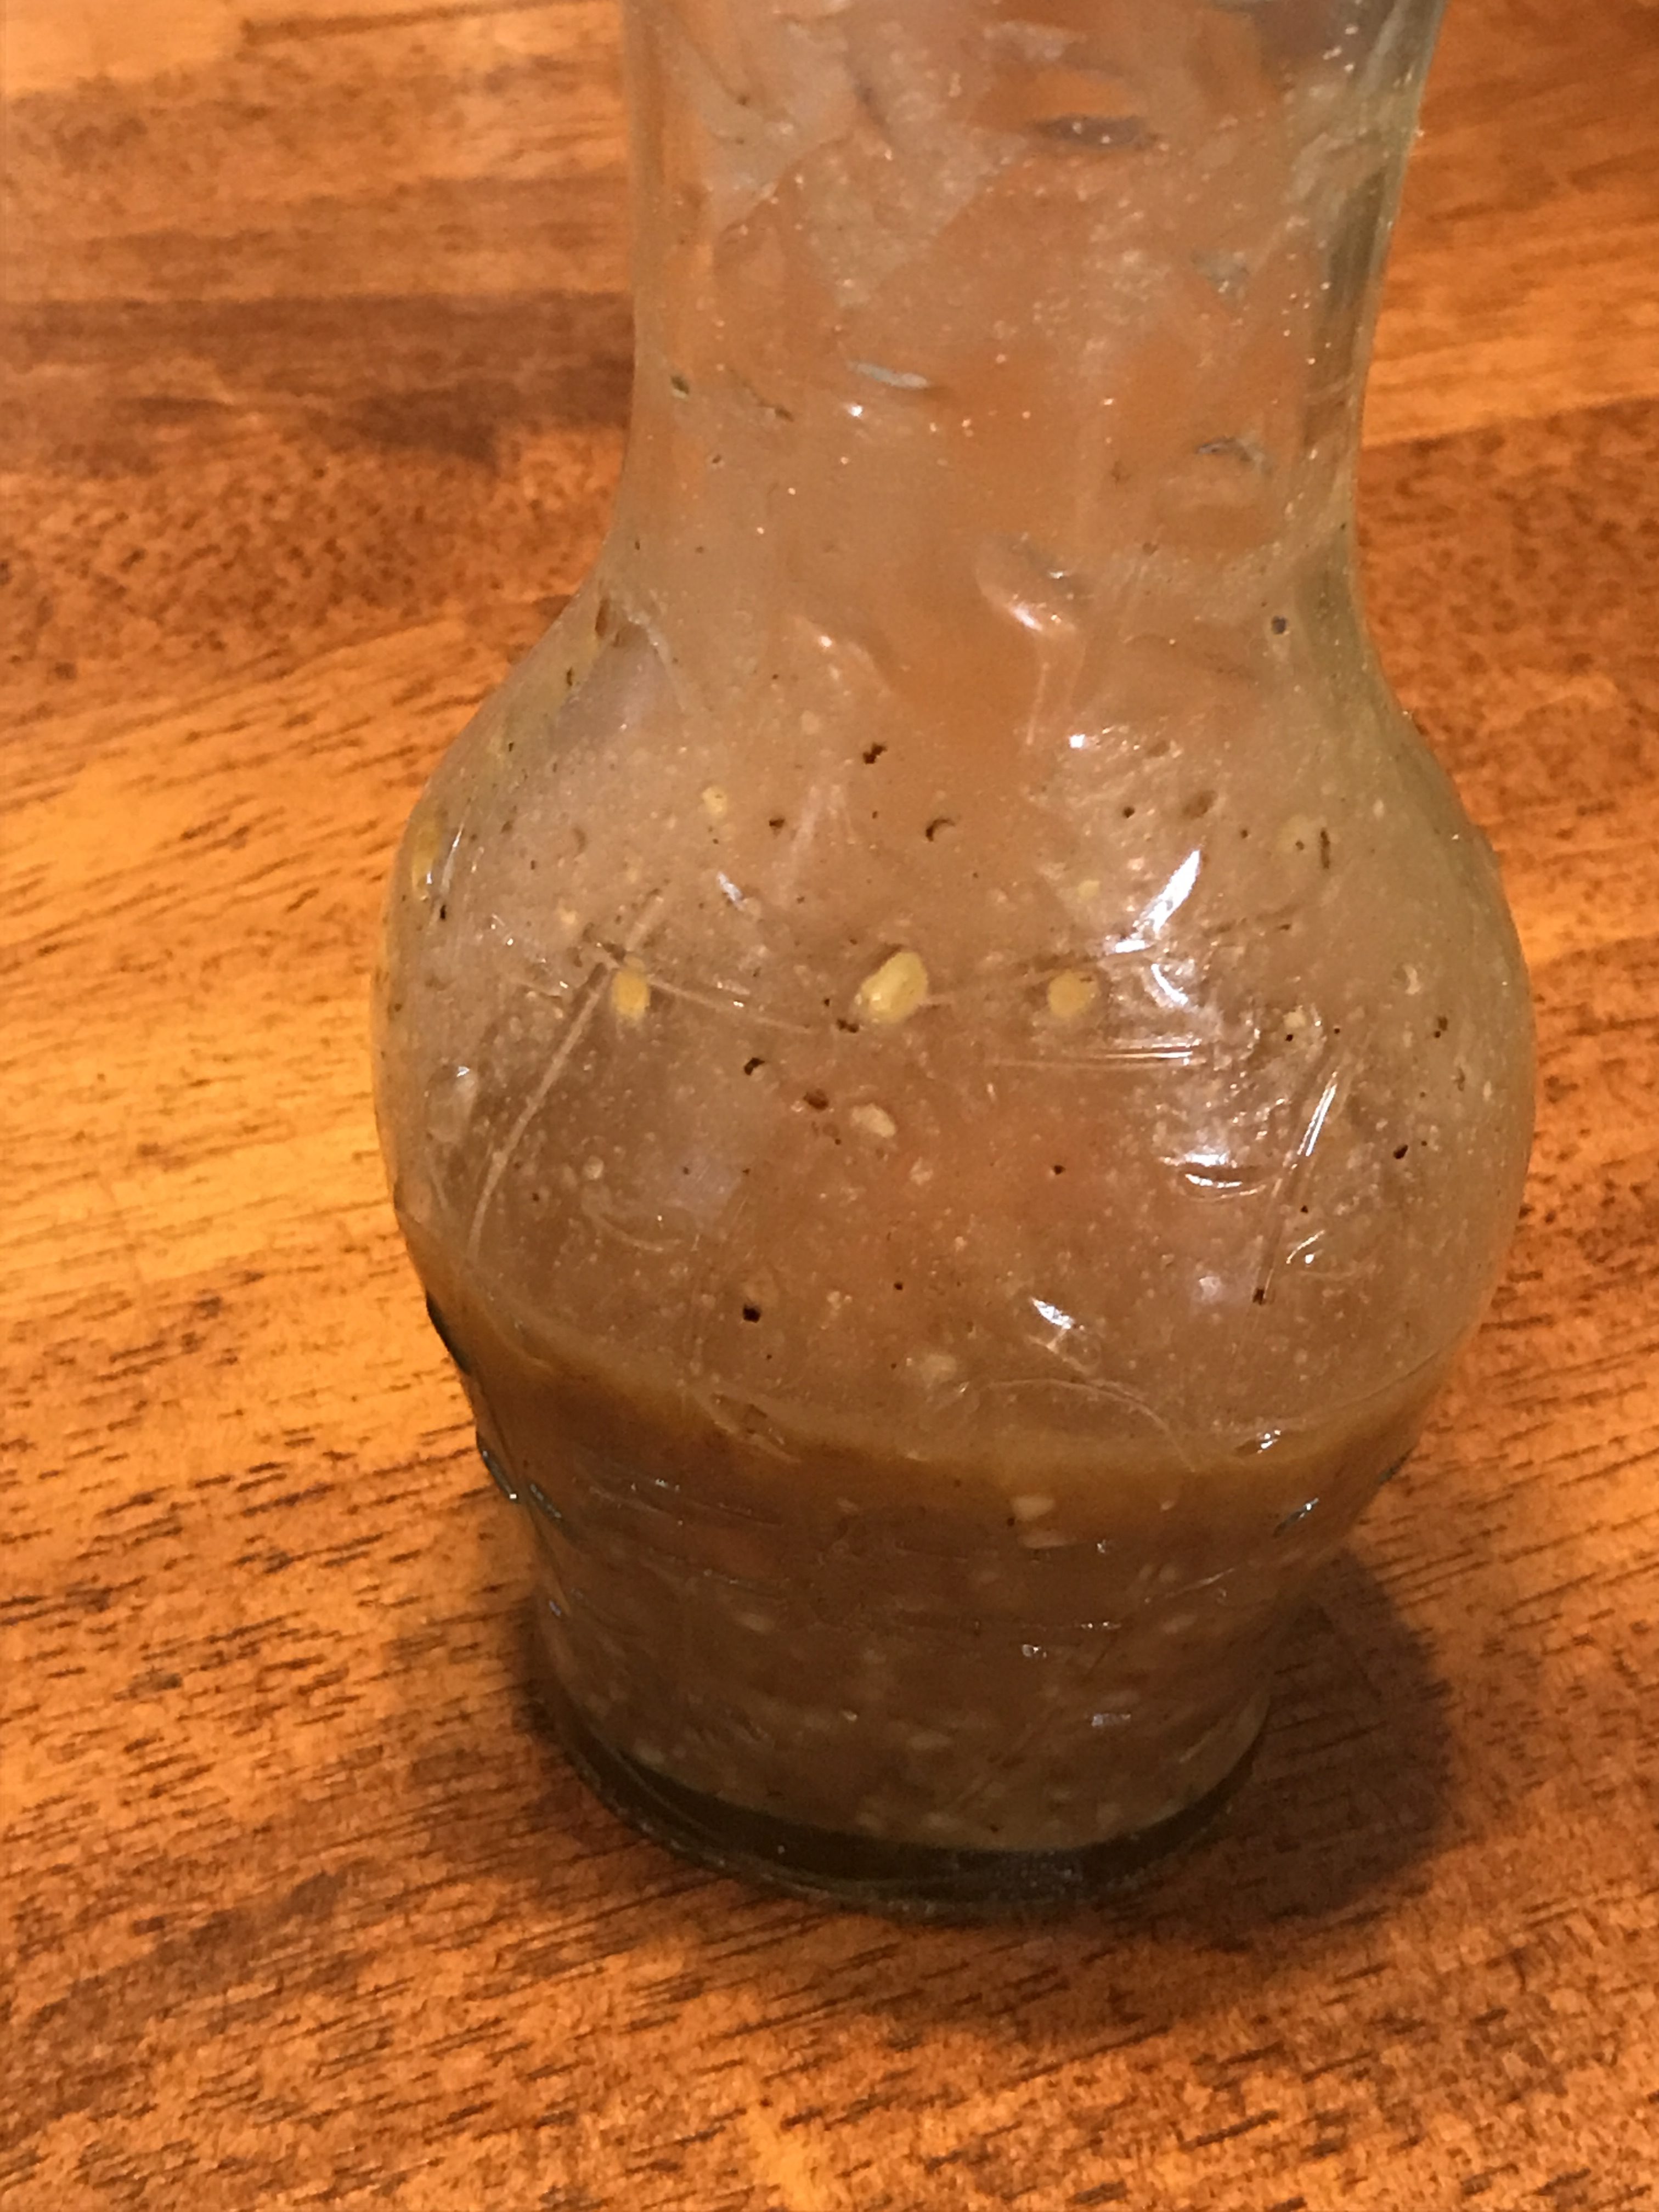
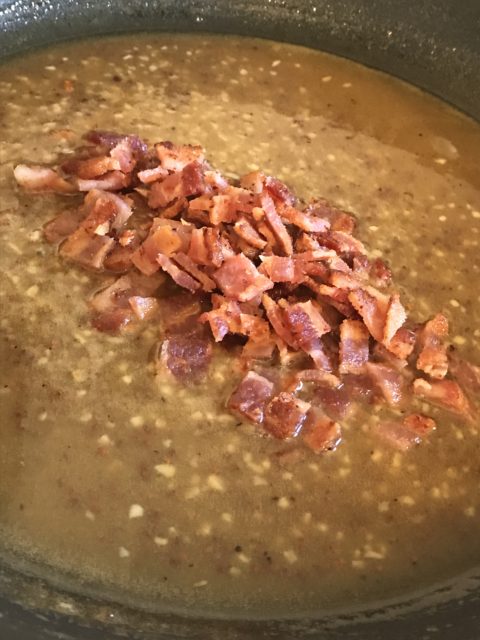 What makes this vinaigrette amazing?? The oil used is bacon renderings. Yes, bacon grease…yum! This dressing is best served warm. Store it in a microwavable container so it can be microwaved for 20 – 30 seconds just before serving.
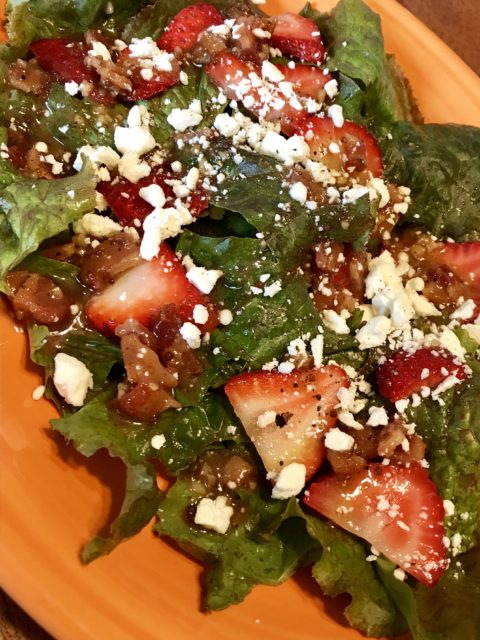
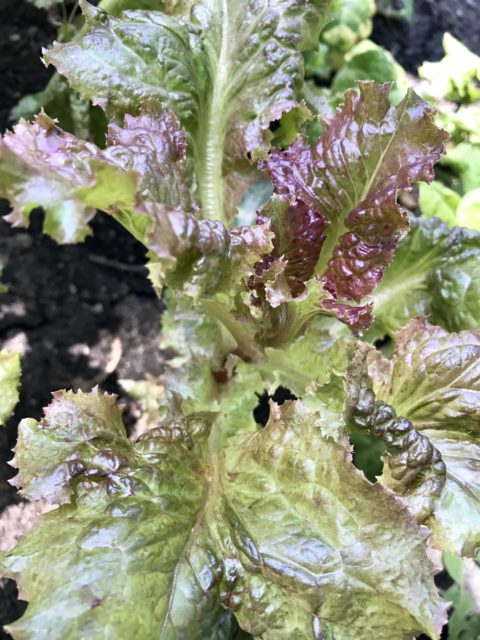
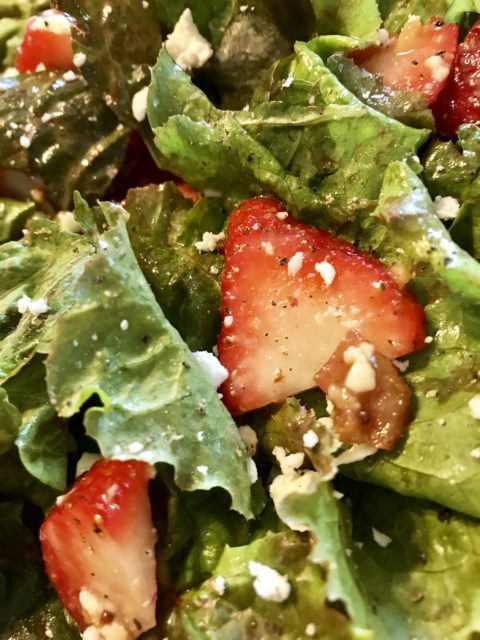
It is a great dressing for a spinach salad or for a wilted leaf lettuce salad. I have a garden full of red leaf lettuce, so that’s what I used for this salad. I tossed on some strawberry slices and feta cheese. Fresh mushrooms and red onion slices would have been tasty too. For a spinach salad, the mushrooms, red onions, hard boiled egg slices, sliced almonds, and bleu cheese in place of the feta would be tasty.
- 3-5 Bacon slices (cooked crisp and crumbled)
- Bacon drippings
- ¼ C Apple Cider Vinegar
- 3 T Stone Ground Mustard (I used a sweet & spicy mustard)
- 2 T Honey
- 2-3 t Minced Garlic
- ½ t salt
- ½ t pepper
- Fry bacon, remove from renderings and crumble
- Reserve bacon renderings in the pan
- Add the mustard, honey, garlic, salt and pepper
- Whisk over low heat
- Add the vinegar and continue whisking while the dressing thickens
- Add crumbled bacon
- Pour into a resealable microwave safe container
- Microwave without the lid for 20-30 seconds if needed before serving
Have I mentioned I LOVE grilling season! Honestly, I could grill every day if I didn’t live where more than half the year it is either freezing or raining. Yes, I could still drag the grill out. It’s just not as fun to stand outside shivering and wet while cooking.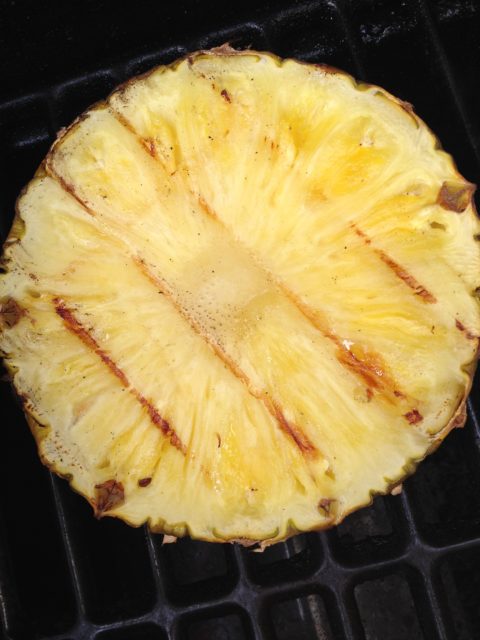
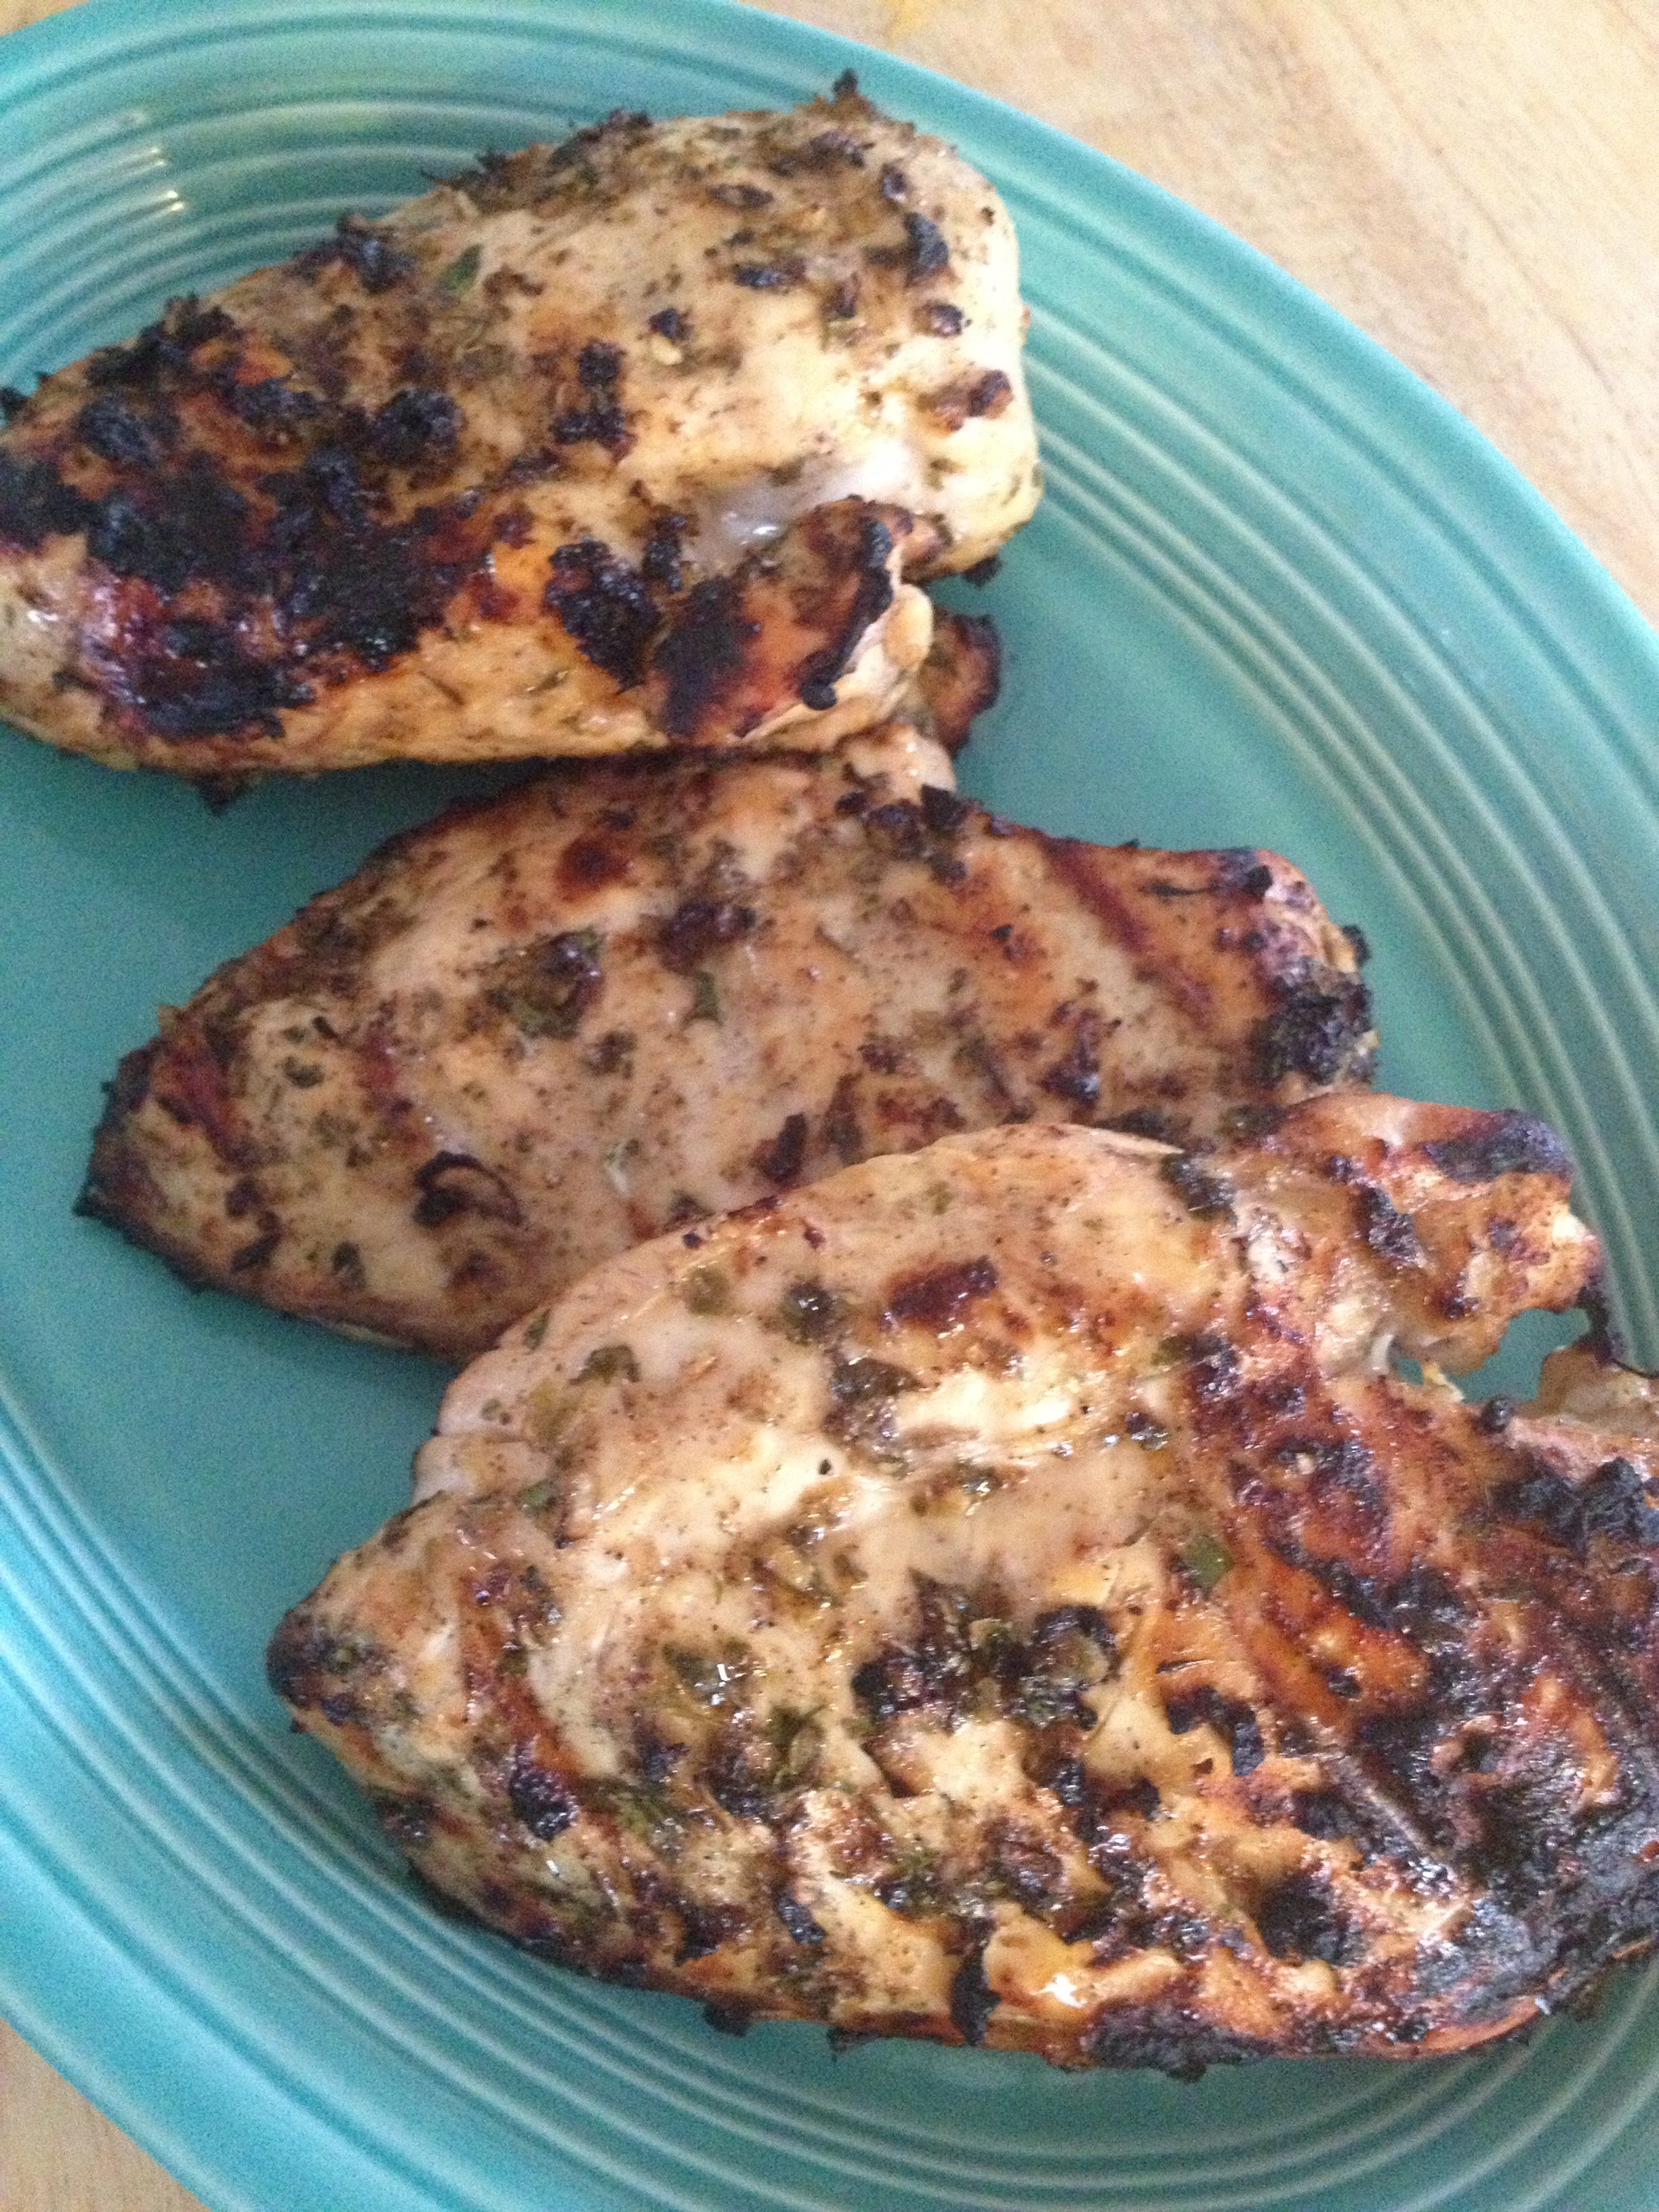
One of my favorite seasoning blends for grilling is jerk seasoning. It is perfect for chicken and pork. You can order Changing Seasonings Island Spice from the online market page, or make your own using the recipe below. Jerk is spicy with the unique flavor of Allspice. I typically grill fruit such as pineapple or peaches with the meat, and then serve over brown rice or quinoa.
Allspice comes from tropical Central America and West Indies. Like Cloves, Allspice has a very unique, pungent flavor. It is used in cooking all around the world from the Caribbean to Europe to the Middle East. It compliments meats, vegetables (especially squash and root vegetables, and fruits). It is even used in baking cakes, pies and other deserts.
If you have read other posts, you know that I actually prefer chicken thighs. They are more juicy and flavorful. It just happens that I had breasts to use when I wrote this. Tenders or even drumsticks would work well too. Use your favorite.
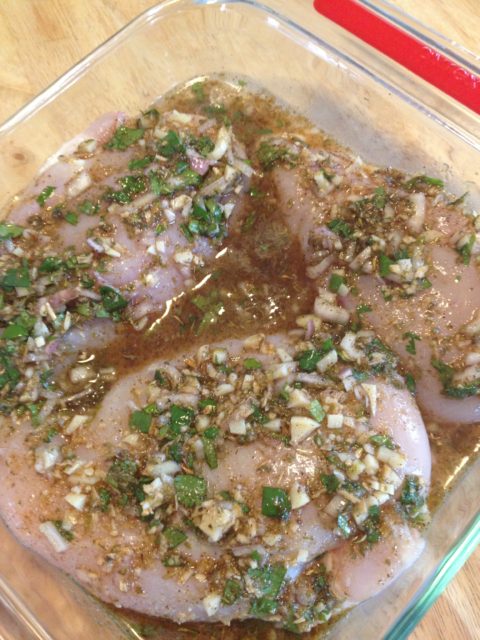 Combine the ingredients to make a marinade. Meat doesn’t have to marinate very long, 1 – 4 hours is plenty. In fact, many cuts of meat will actually lose texture and become grainy if left in the marinade too long. Do not use the excess marinade to baste the meat unless it will be cooked fully. Reserve some of the marinade before putting the raw meat in it for that purpose, just to be safe.
This marinade is great for pork and shrimp too. Season with additional jerk seasoning and garnish with grilled fruit before serving.
Caribbean Jerk Chicken
3-4 Boneless, Skinless Chicken Breasts, halved (or your favorite chicken pieces)
1 Medium Lemon, juiced + 2 T zest
1 Lime, juiced + 1 T zest
3 T Olive Oil
1/2 C Coconut Rum (optional – plain light Rum or Tequila could also be used)
2 T Shallot, minced (about 1/2 large shallot)
2 large Cloves Garlic, minced
2 T Jerk Spice mixture*
Mix the lemon juice (about 3 T), lime juice (about 2 T), zest and olive oil. Add the jerk spice, minced shallot and garlic. Whisk in the rum. Pour over the chicken and refrigerate for at least an hour.
*Jerk Spice Mix
1 T dried minced garlic
3 t cayenne pepper
2 t onion flakes
2 t dried thyme
2 t dried parsley
2 t dark brown sugar
2 t kosher salt
1 t paprika
1 t ground allspice
1 t coarse ground peppercorns
1/2 t dried crushed red pepper flakes
1/2 t fresh ground nutmeg
1/4 t ground cinnamon
Mix the ingredients and store in an air tight container away from heat and light for 6 months.
- 3-4 Boneless, Skinless Chicken Breasts, halved
- 1 Medium Lemon, juiced + 2 T zest
- 1 Lime, juiced + 1 T zest
- 3 T Olive Oil
- ½ C Coconut Rum (plain light Rum or Tequila could also be used)
- 2 T Shallot, minced (about ½ large shallot)
- 2 large Cloves Garlic, minced
- 2 T Jerk Spice mixture*
- Mix the lemon juice (about 3 T), lime juice (about 2 T), zest and olive oil.
- Add the jerk spice, minced shallot and garlic.
- Whisk in the rum.
- Pour over the chicken and refrigerate for at least an hour.
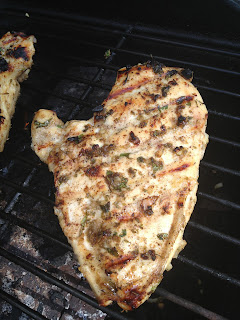
- Grill chicken until required doneness.
