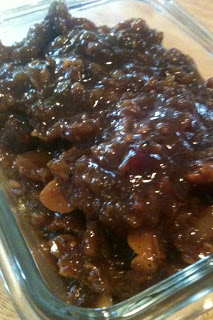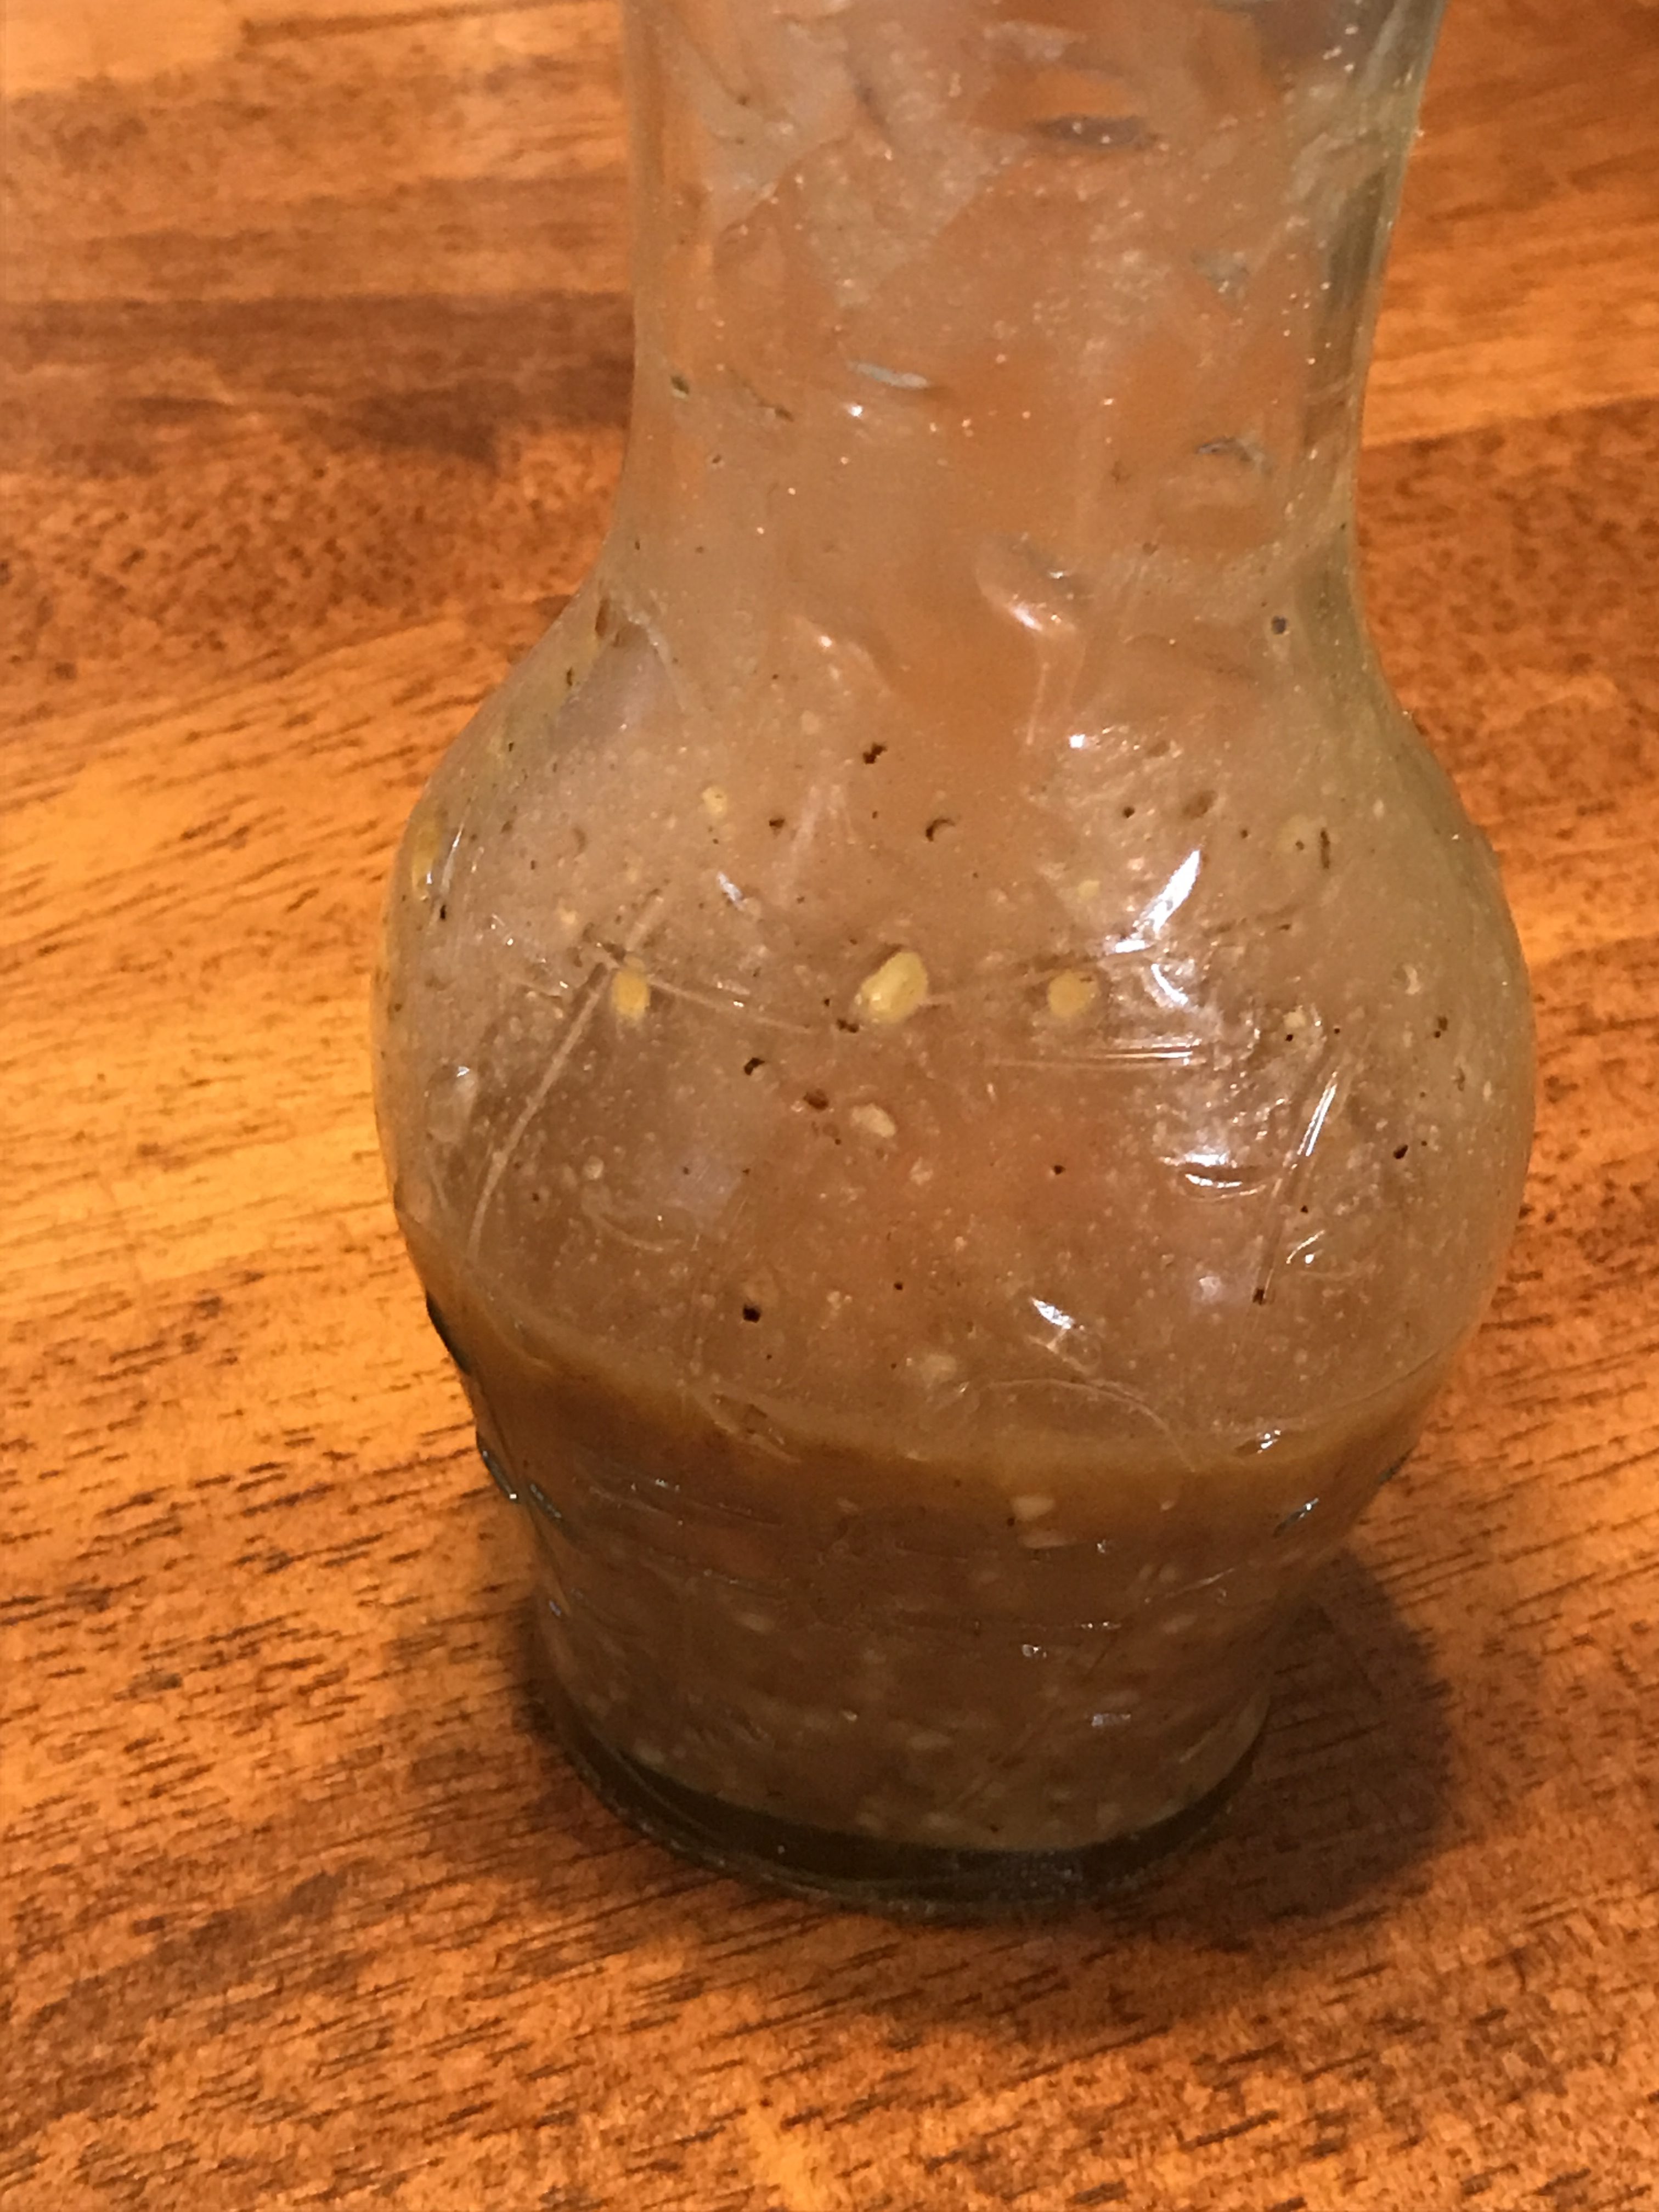
Vinaigrette dressings are super simple to prepare. The basic ingredients include oil, spices, herbs and/or other flavoring (mustard, jelly or jam, honey, etc.), and vinegar at the ratio of about 1 part vinegar to 3 parts oil. You don’t even need to have fancy vinegar or oil, apple cider vinegar and vegetable oil will work.
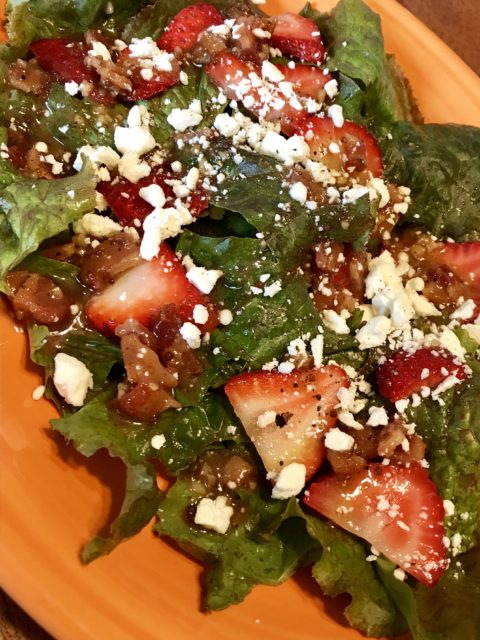
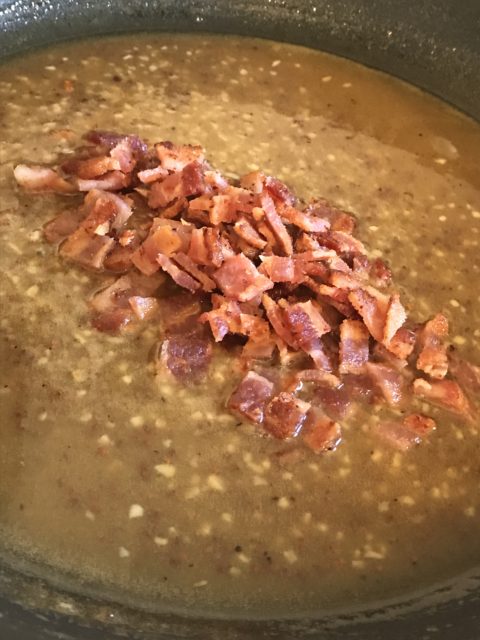 What makes this vinaigrette amazing?? The oil used is bacon renderings. Yes, bacon grease…yum! This dressing is best served warm. Store it in a microwavable container so it can be microwaved for 20 – 30 seconds just before serving.
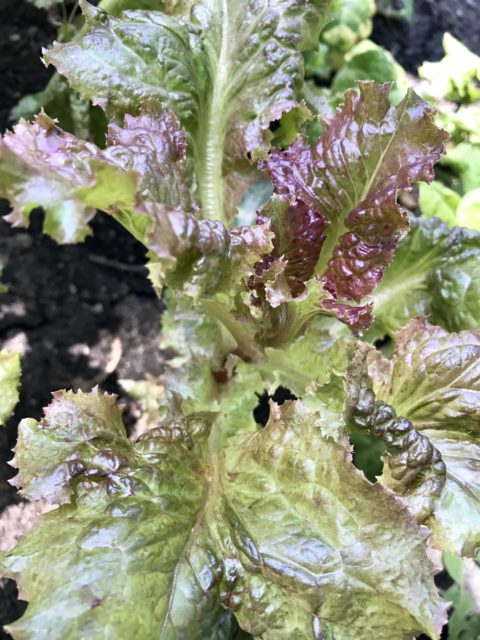
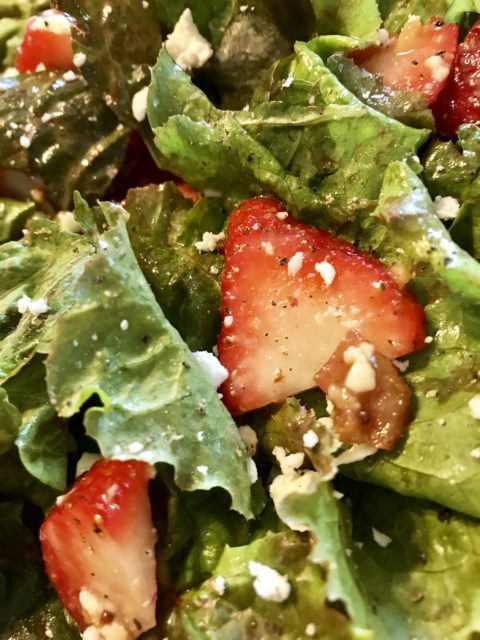
It is a great dressing for a spinach salad or for a wilted leaf lettuce salad. I have a garden full of red leaf lettuce, so that’s what I used for this salad. I tossed on some strawberry slices and feta cheese. Fresh mushrooms and red onion slices would have been tasty too. For a spinach salad, the mushrooms, red onions, hard boiled egg slices, sliced almonds, and bleu cheese in place of the feta would be tasty.
- 3-5 Bacon slices (cooked crisp and crumbled)
- Bacon drippings
- ¼ C Apple Cider Vinegar
- 3 T Stone Ground Mustard (I used a sweet & spicy mustard)
- 2 T Honey
- 2-3 t Minced Garlic
- ½ t salt
- ½ t pepper
- Fry bacon, remove from renderings and crumble
- Reserve bacon renderings in the pan
- Add the mustard, honey, garlic, salt and pepper
- Whisk over low heat
- Add the vinegar and continue whisking while the dressing thickens
- Add crumbled bacon
- Pour into a resealable microwave safe container
- Microwave without the lid for 20-30 seconds if needed before serving
I have been craving a Chicken Gyro. Although, I am not sure if I am really just craving the Changing Seasonings Greek Isle seasoning blend I use, or perhaps the fresh Tzatziki sauce. Probably both.
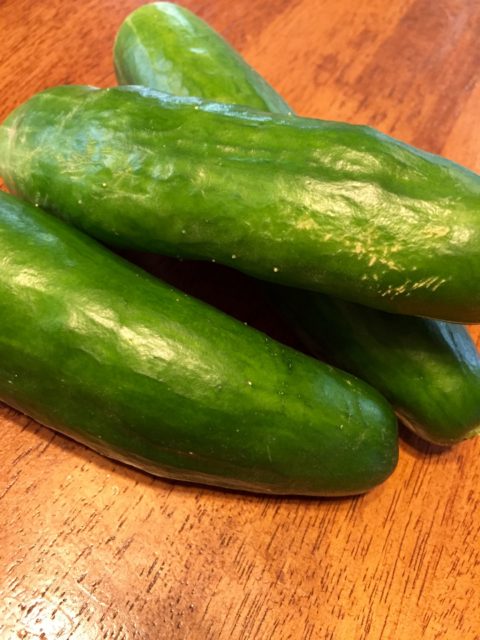 I ate a ton of Greek last summer, but took a little break once my garden stopped giving me cucumbers. This spring, I planted two cucumber plants in my little garden. One, was a plant that was withered at the greenhouse so the owner just tossed it in for free to see if I could salvage the poor little thing. Both plants are growing like crazy though, in what is best described as an attempt to take over the world. I don’t even think I will get a good harvest of green beans before the cucumber plants sprawl out with their tiny but strong little tentacles that grab onto whatever they can and take over an entire corner of my garden. I have a ton of blossoms, and in turn, will have bunches of cucumbers again this year.
Tzatziki is a Greek sauce that is used to top meats, on gyros, and as a dip. A local to me restaurant uses it as a dip for a tasty little potato wedge appetizer. The wedges are coated in a Bay Seasoning, like Changing Seasonings Calypso blend. The two compliment each other perfectly. Let’s just say, the ratio of Tzatziki to wedge is not balanced when I am eating this appetizer. The wedges become more of a utensil to scoop the dip into my mouth.
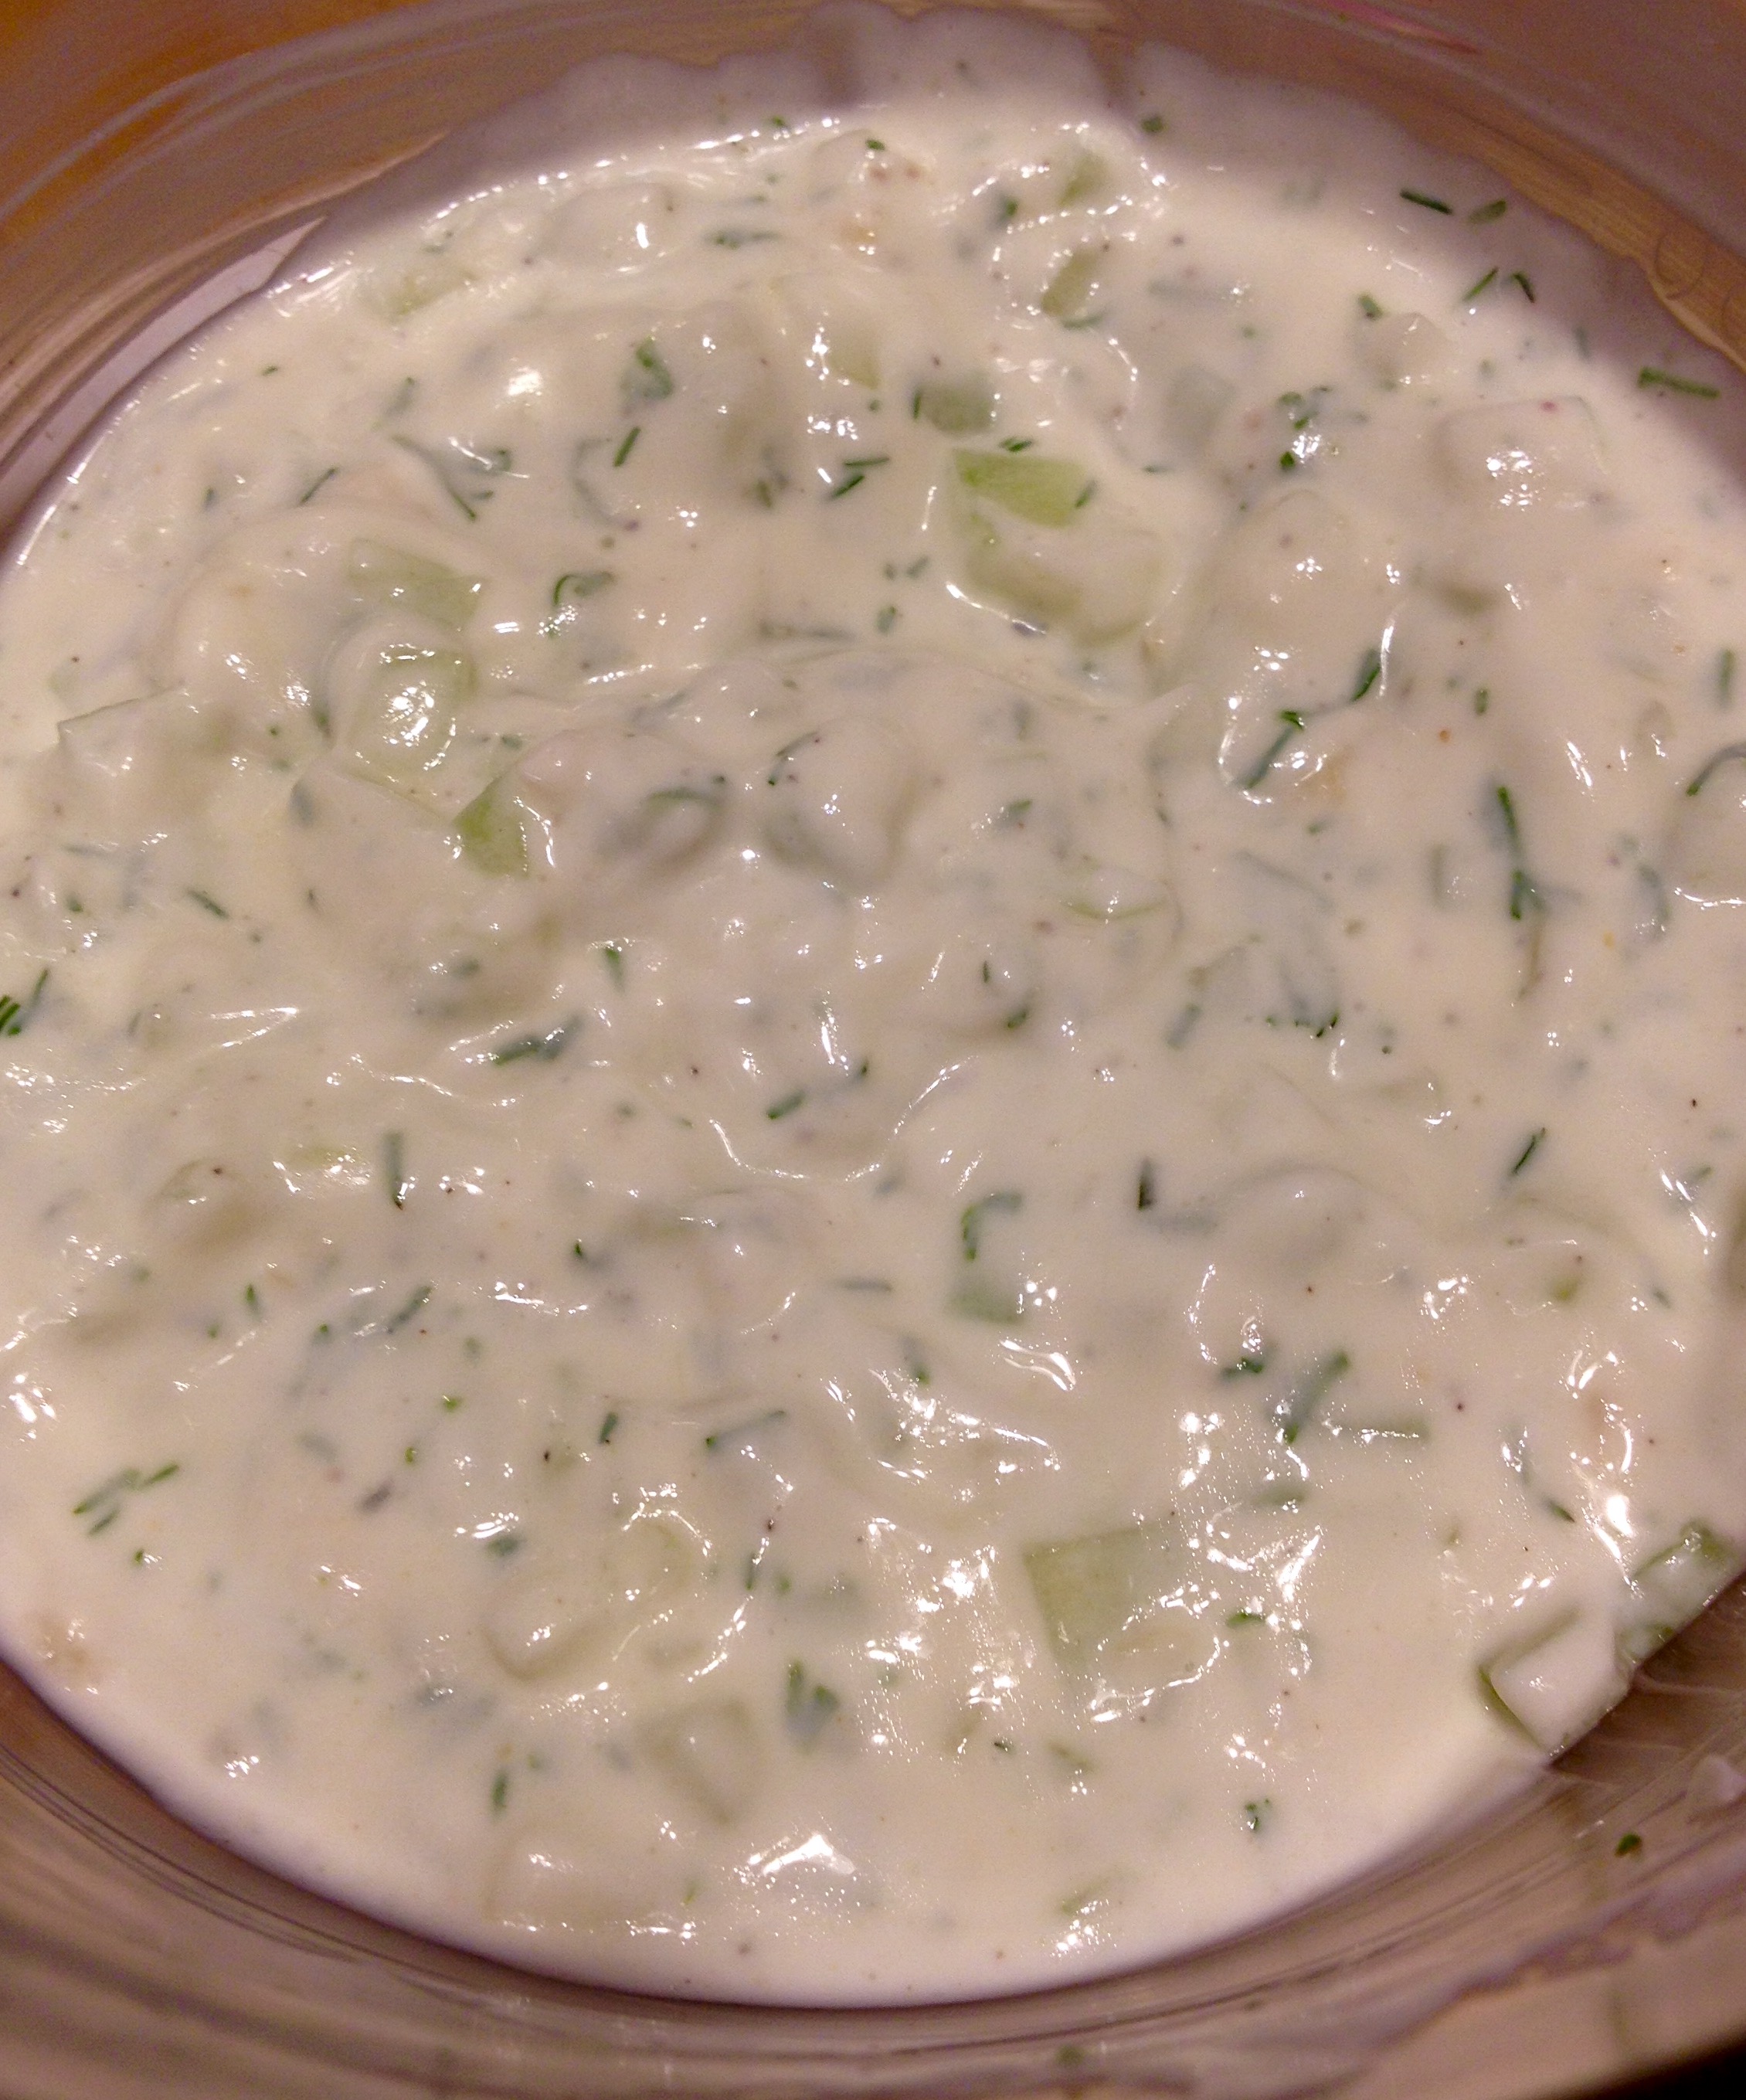
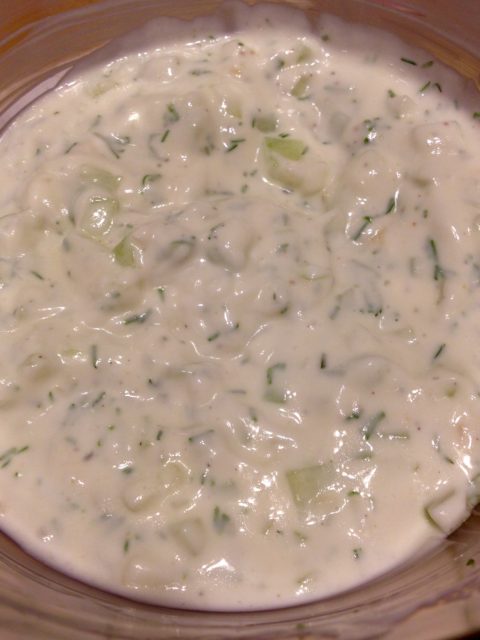
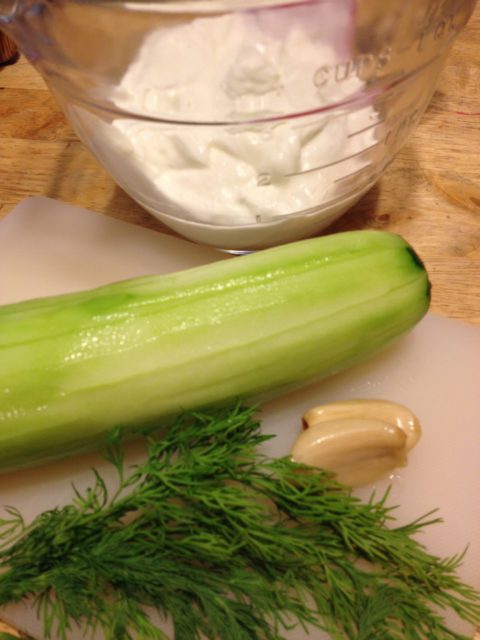 Tzatziki is pretty simple to prepare. There are a few different variations out there, but the basic ingredients are the same: Greek yogurt, cucumber, lemon juice, garlic, olive oil and dill. Some people shred the cucumber and some chop it. Either is acceptable. Some also blend or use a food processor to mix the Tzatziki to a smooth sauce or dressing consistency. I prepare it differently based on what I am going to use it for, but I think shredding the cucumber is my general go-to way.
This is a good place for a reminder of the rule of thumb when trying to decide how much of a dry spice to use in place of fresh herbs. The typical equation is three times the amount of fresh than dry. Dried spices are more potent than fresh. Since a tablespoon is the equivalent of 3 teaspoons, if the recipe calls for 1 tablespoon of fresh dill, in this case, then you could substitute with 1 teaspoon dried dill weed.
Also, remember that there is a difference in dill weed and dill seed, and they are not interchangeable in this recipe. Dill weed is the fresh leaves of the plant. Often used in Mediterranean dishes, dill weed compliments carrots, cucumber, eggs, fish and seafood, basil, garlic, mustard and parsley. Dill weed is more flavorful fresh or frozen, not as much when dried. If used in cooking, add the dill weed at the end of cooking so it doesn’t lose potency. Dill seed is used mostly is slow cooked foods and compliments cabbage, onions, potatoes, cumin, garlic, and ginger. Both are used in pickling.
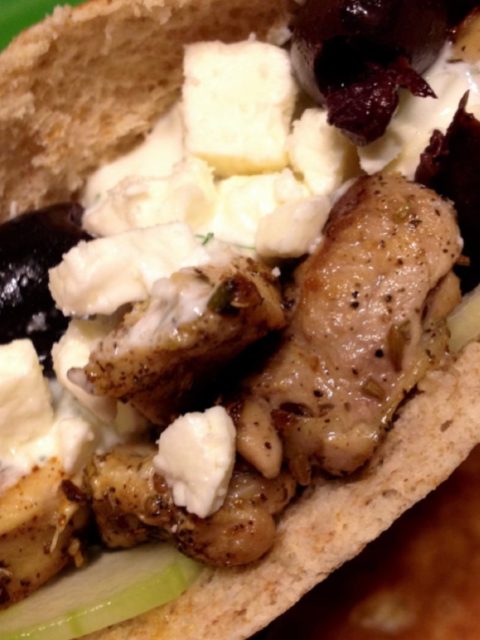
Most recently, I have topped both Chicken Gyros and Shrimp Gyros with Tzatziki. Just season the chicken or shrimp with Greek spice before cooking (both are great on the grill!). Put on pita bread with thin sliced sweet onion, feta cheese, thin sliced tomato, thin sliced cucumber (optional), and Tzatziki. Top with pitted kalamata olives. Yum!
- 16 oz Plain Greek Yogurt
- 2 medium Cucumbers - peeled, seeded and chopped or shredded
- 2-3 cloves Garlic - minced
- ½ Lemon - juiced
- 2 T Olive Oil
- Dill Weed - fresh or dry (use 1 T fresh or 1 t dry)
- Salt - to taste
- Pepper - to taste
- Mix the ingredients
- Chill until serving
For those of you who live in regions that have grill season year-round, you are culinarily blessed! Grill season is upon us here in the mid-west. Breaking out the grill for the first meal of spring is practically a holiday.
First things first, to address the age old BBQ debate: dry rub v/s sauce!??! Well, for me, the answer is BOTH. And, actually there is a step prior to that: marinating. Yes, high quality meat should have a wonderful flavor in itself. However, this blog is about enhancing flavors with herbs and spices.
As I shared in my whiskey marinade post (Whiskey Marinade), a marinade is made by combining an oil, an acid and spices. Historically, people used marinades to both tenderize and flavor meat. More recently, however, it has been discovered that marinades don’t really have an effect on how tender the meat is. The cut and quality of the meat and how it is cooked determines how tender it will be. In fact, if certain meats are left in a marinade too long the tissue will break down and the meat will be grainy. Even after soaking several hours, marinades only soak into the outer layers of the meat, not clear through, so it is important that you use a high quality piece of meat to really get the best flavor. For a piece of meat such as the bone-in and skin-on chicken thighs I grilled today, I pierce the skin in several places to help ensure the marinade is absorbed.
You can use any combination of your favorite oil, acid and spices to make your marinade. I prefer a high quality olive oil, and am able to purchase them at a local gourmet olive oil and vinegar shop (www.theolivetwist.com ). The acid can be a vinegar, wine, liquor or even some juices. Some of my favorites are balsamic vinegar, a Chardonnay or Cabernet Sauvignon, whiskey, tequila or lemon/lime juice. Which I use, depends on the type of meat and the flavor I’m trying to achieve. For example, for jerk chicken, I would use olive oil, lime juice, rum or tequila and Caribbean style spices such as all spice, cinnamon, cloves, garlic, nutmeg, habanaro chilies, and thyme. More often than not, my marinades are a combination of what I have on hand.
Next comes the rub. Before putting the meat on the grill, I rub it with a spice mixture. There are a variety of pre-mixed rubs available in many flavors, and if you have a couple that are favorites you could stock those in your spice cabinet. Ground spices, when stored properly, can retain flavor about a year. Certainly, fresh spices have a more potent flavor. When you purchase spices from a grocery store, you have no way of knowing how long it has been sitting. Purchase spices in smaller amounts, about what you think you can use in three months or so. When possible, purchase whole spices and grind them yourself. Store spices in airtight containers in a cool, dry place. Never store above a heat source or in the light because the color will fade and the quality will decline. You can easily concoct your own rub blend if you know which spices go well together and with what types of meat or vegetables. Here is a basic quick reference (this is only a partial list):
Chicken Spices:
Beef Spices:
Seafood Spices:
Pork Spices:
Mint
Vegetable Spices:
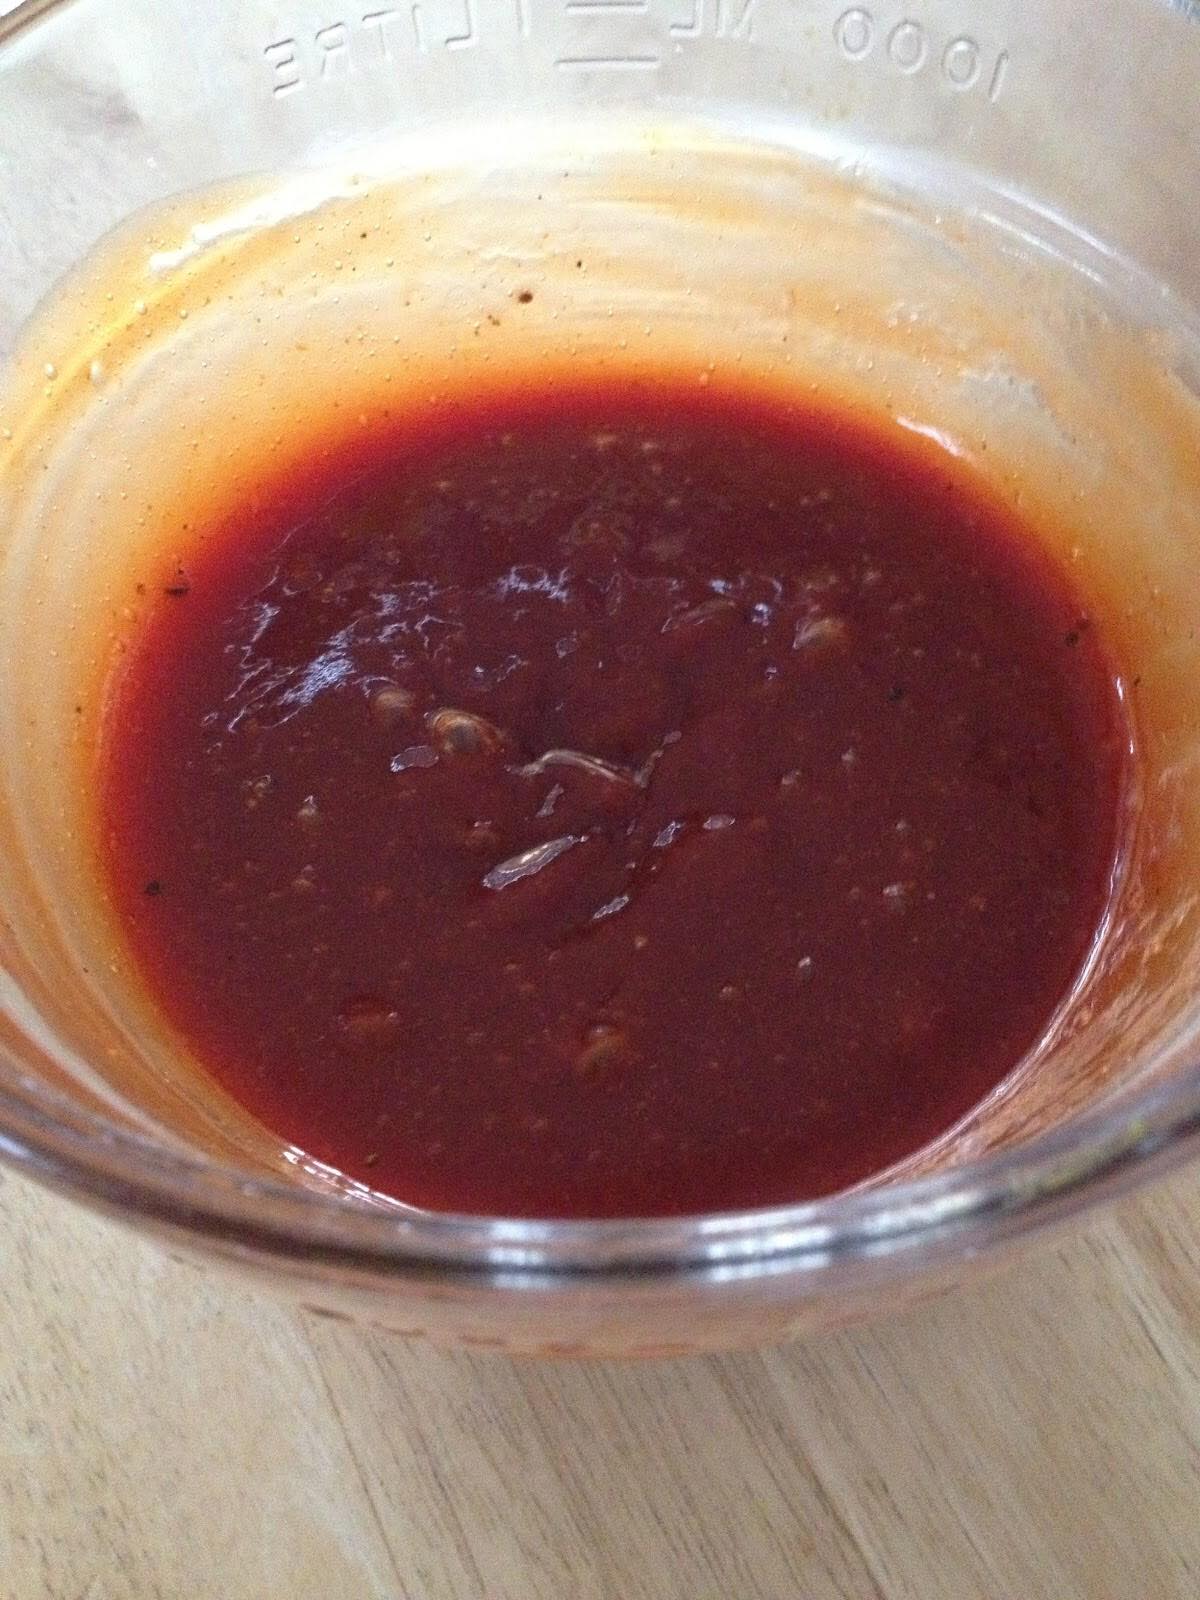
Finally, once the meat has grilled to near perfection, it’s time to add the sauce! Here is a quick and easy BBQ sauce recipe adapted from my mom’s recipe that has been a favorite of our family and friends for years. Now, here’s a problem…I have never measured the ingredients in this recipe, ever! It has always been an add and taste kind of thing, and when we make it, we make a lot! So, I am going to give you a recipe for about 4 cups of sauce and you can adapt to your taste and the amount you need.
BBQ Sauce
1 t each spice: peppercorn, garlic salt, onion powderWhisk together. Store in a container in the refrigerator until needed.
After marinading for a couple of hours, place the meat on a baking sheet and rub with spice mixture. Grill until just under desired doneness. Brush sauce on meat and grill a couple more minutes until done. Toss your choice of vegetable in the same spices you put in your rub and grill in a grill pan. Using the same spices ties all the flavors of the meal together.
Experiment with new mixtures each time you grill. Grill season is just beginning and the combinations are endless!
Ahh the holidays! Food, food and more food! It never fails that more than one typically non-cooking friend or family member brings a cheese tray to the holiday gathering. Now, don’t get me wrong…I adore cheese! However, you will inevitably have cheese left over after your event and there is only so much cheese and crackers any of us can handle. Other than using it for a toasty grilled ham and cheese, there is something very simple you can do with all that cheese. A quick cheese sauce. The cheese sauce can become a creamy fondue that can turn that leftover veggie tray into a fun and tasty meal. It can also be used as a base for a turkey tetrazzini or homemade macaroni and cheese.
 Cheese Sauce
(for about 4 cups of sauce)
4 T Flour
4 T Butter
3 C Milk
4-6 oz Cheese (variety of types)
Hot Sauce (several drops)
1/2 t Nutmeg (fresh, grated)
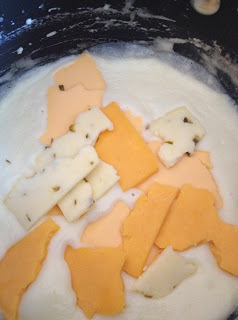
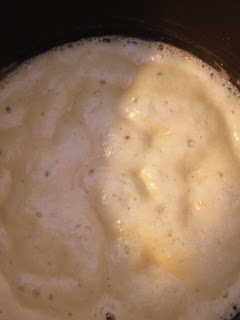 Start by making a roux. The amount will depend on the amount of sauce you want to make. A roux is basically made from equal parts of butter (or some fat) to flour. Melt butter over medium high heat. Add flour, whisking for several minutes until the mixture turns a light brown and a nutty scent develops. Make a béchamel sauce by pouring in milk slowly, whisking constantly. The mixture will thicken. Continue to add milk to desired consistency. Add the cheese. When I am using leftover cheese tray slices, I just tear them as I put them in the pan. Add several drops of hot sauce and grated nutmeg.
You now have a versatile cheese sauce that can be the base for so many recipes. Add cooked pasta for a homemade macaroni and cheese. To utilize other holiday leftovers such as meats or crudités, stir in pasta, leftover turkey, chicken or ham and peas, mushrooms or broccoli and bake for a tetrazzini casserole. Or, put in a fondue pot and serve with fresh vegetables, day old bread chunks, fresh fruits and pretzels.
Warm weather has everyone wanting to avoid heating up the kitchen, grabbing the tongs and heading outside to fire up the grill! There are many, many foods that can be prepared on the grill and often are tastier cooked over fire. And most of those become absolute taste bud paradise when topped with butter!
 Herb butter is made by combining any herb or spice with butter. Fresh herbs, freeze dried herbs or dried herbs (spices) all work well. My only rule (note: I didn’t say recommendation, I said rule!), is that REAL butter be used. Whether you use salted or unsalted is your preference, but I will send a bolt of lightening to shock some sense into you if you use the fake stuff. Okay, I realize that I don’t actually have those powers, but don’t tell my children…wink, wink! In our house, you will find only real butter and you will find it on the counter. To refrigerate or not to refrigerate…one of the key debates in the food world. Not surprisingly, the USDA says to keep butter refrigerated until about 10-15 minutes before use to be safest. However, many people will insist that butter can be kept on the counter, covered, for a week or more. Butter is made from pasteurized milk which helps to keep bacteria growth low, as does added salt. Typically, the butter will be eaten before it has a chance to spoil or become rancid. To make herb butter, set the butter out long enough to soften. You don’t want to use the microwave because you risk melting it and causing it to separate.
I made three types of herb butter to have ready for upcoming recipes: Rosemary Butter, Chive Butter and Dill Butter.
Rosemary Butter
Rosemary is a hearty herb with a pungent, woodsy flavor and like Cilantro, it is an herb that people either really like or don’t like at all. Rosemary can overpower other flavors if used too heavily. It is a compliment to strong flavors like garlic. It pairs well with steaks and with rich meats such as lamb, duck and game, and with vegetables such as zucchini and eggplant. It also goes well with sharper flavored cheeses such as Bleus. I plan to use it to top a garlic marinated steak, cooked to a warm, pink, juicy medium rare along with some crumbled Gorgonzola.
 I chose to use fresh Rosemary for this recipe for two reasons: first, I have it readily available in my herb garden and second, though dried Rosemary has a similar flavor, it has a rough texture and doesn’t really soften, even in cooking. To remove the Rosemary from the stem, simply hold the top of the stem between two fingers and using the other hand, pinch and pull down. You can reserve the stems to use as shish kabob skewers. In fact, skewering some fresh zucchini, mushrooms and onions, and grilling them along with the steaks would be a great side dish.
 Because I wanted a very fine chop, I put the Rosemary in my spice grinder and pulsed it a few times. Clean the grinder immediately because the potent oils can make all the spices you grind taste like Rosemary. I have found that pouring coffee beans into the grinder and letting them sit for a day or so helps to remove spice scents from the grinder.
 Mix the herbs into the butter. I use a heaping tablespoon of herb to one stick (1/2 C) of softened butter. The amount can vary depending upon the herb and your taste.
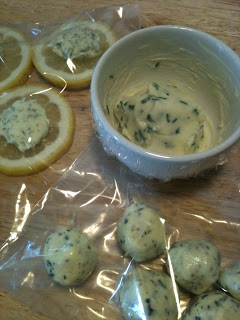
Herb butter can be stored in the refrigerator in a container or serving dish, or it can be formed into shapes for attractive presentation. I put the Rosemary Butter in the refrigerator for a few minutes to begin to chill it, and then rolled it into balls. I placed the balls into the freezer while I prepared the remaining butters and then transferred them to a zipping bag to store in the refrigerator until steak day. When the steaks are ready to be plated, I will sprinkle some crumbled Gorgonzola on top and then place a ball of Rosemary Butter on it. It’s all about the presentation, right!??!
 Dill Butter
The leaves and the seeds of Dill can be used in cooking. The seeds are used in pickling spice. The leaves, often referred to as Dill Weed, pair well with white sauces, soft cheeses, seafood, chicken and egg dishes. It is also tasty in salads and with vegetables. Because it is very fine, Dill should be added at the end of cooking so that it’s flavor isn’t tempered.
The Dill Butter I made is going to be used for two purposes: to flavor steamed or grilled vegetables and to top grilled fish filets. After mixing the Dill and butter, I placed a dollop on top of a lemon slice and store in the refrigerator or freezer until I’m ready to use it as a flavorful garnish for fish.
Chive Butter
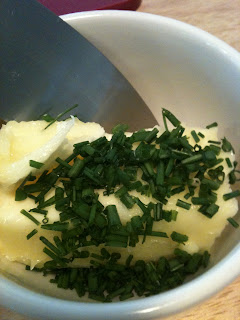
The final herb butter I made was Chive Butter. Chives are part of the Garlic and Onion family. Chives have a flavor similar to green onions and go well with salads, vegetables and potatoes, egg dishes and with cream cheeses. The Chive Butter I made will be used for flavoring new (red) and fingerling potatoes, and steamed vegetables. Sometimes, I just spread it on crackers as a snack. Chives are easier to snip with kitchen shears than to chop. Cut them right over the bowl of softened butter and then mix together.
I started this blog because I love to cook and have a passion for fresh herbs and spices, and because I like to share recipes and tips with others. It is easy for me to talk about food and to create or adapt recipes. What I have found to be the most difficult part of blogging is thinking of creative titles to capture the attention of readers. So, I have to give credit to my 9 year old son for the title of this blog. When I mentioned to him that I was struggling, it took all of five seconds for him to say, “how about buttering them up?” Perfect!
Just in time for Cinco de Mayo, comes another of my favorite herbs: Cilantro! And, how better than to incorporate this fresh and flavorful herb in a recipe than Salsa!?!
The one thing I have found is that people either love cilantro or they really don’t like it…there aren’t too many in between. It has a very distinct flavor that leaves no question about whether it can be found in the recipe. Even if you love it, be cautious because you can use too much of it. Cilantro is the leaf of the plant and coriander is the seed. Even though they come from the same plant, their tastes are very different and they can not be used to replace each other in recipes. Cilantro is wonderful fresh, but can also be found in dried spice form. The best way to store fresh cilantro is to make a new snip on the stems and place the bunch in a cup of water like you would a flower bouquet. Depending upon how quickly you will use it, you can store it on a counter or in the refrigerator. Wash and gently pat dry just before using. The leaves and stem can be used. Cilantro is often found in Mexican and Latin American recipes, but is also found in Middle Eastern, Mediterranean, Indian, South Asian, Chinese, African and Southeast Asian cuisine.
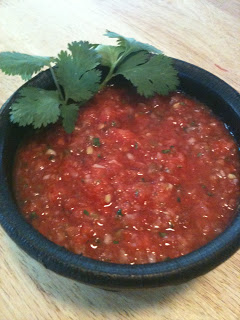
Technically, my salsa is a pico de gallo. What’s the difference, you ask?? The difference between salsa and pico de gallo is whether it is cooked or fresh. Salsa is made with cooked ingredients and pico is made by chopping and mixing fresh ingredients. However, the term “salsa” is pretty much used to describe any sauce, red or green, sweet or spicy, chunky or smooth, that is made from the basic base of tomatoes, onions, garlic, peppers and vinegar. The best part about this sauce is you can make it any way you like it. There are so many variations and things that can be added: corn, black beans, fruits (mango, pineapple and raspberries are some of my favorite!), and peppers (jalapeno, habanero, and chipotle [roasted peppers]). The other aspect you control is the amount of heat. Depending upon which peppers you use, how many of those peppers and whether you leave the seeds and veins intact. TIP: to easily remove the seeds and veins from the peppers, use a grapefruit spoon.
I suppose I really shouldn’t refer to this as a recipe for salsa, but really more as a framework. There are so many variables that influence the exact amount of each ingredient, that really the best thing you can do is add some of each thing, sample and adjust according to your taste. You never know how ripe and flavorful the tomatoes will be so you may need to add tomato paste to spark up the flavor a bit. I always dig to the bottom of the bin at the grocer’s and chose tomatoes that are almost over-ripe. Roma tomatoes are my favorite for cooking because they are more “meaty.” Peppers can vary in heat, so always start with a little then add more if needed…you can’t take the heat back out easily. Also, the longer the salsa sits, the hotter it will become. Salt and sugar work together, so add a bit of both at the same time. And, again, cilantro has a very strong flavor so add sparingly. For the acid, I typically just use white vinegar, but sometimes add a little fresh lemon or lime juice for a different flavor.
Salsa Fresca
8-10 really ripe Roma tomatoes
2-3 jalapeños depending upon size and heat
1/2-1 habenaro (optional…if you like it HOT)
1 large Texas sweet or Vidalia sweet onion
4-5 cloves of garlic (about 4t minced if you use jarred instead of fresh…either works)
a handful cilantro (more or less depending on how much you like that flavor)
1 small can tomato paste (use 1/2-whole can depending on ripeness of tomatoes and for thickening)
1/4 C white vinegar
1/4-1/2 C sugar
1-2 T kosher or sea salt
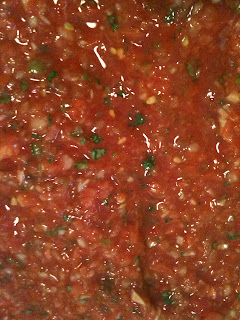
You can prepare this salsa by hand chopping all the ingredients, and if you like yours more chunky, that is probably what you would want to do. It can also be made using a food processor or even a blender. I prefer mine to be less chunky and thick, so I use my food processor. I have an awesome processor that does large pieces of food in large amounts, so I only have to peel and rough chop the ingredients and toss them in. I can also make a decent sized batch in one processor bowl. However, because of the massive amounts of salsa that are eaten by my family, friends and co-workers, I make multiple bowls and mix them together in one very large bowl before pouring into various containers for distributing and storing. This salsa lasts for quite awhile in the refrigerator. I would like to be able to tell you exactly how long, but it rarely lasts more than a week in my house before being devoured!
- 8-10 really ripe Roma tomatoes
- 2-3 jalapeños depending upon size and heat
- ½-1 habenaro (optional...if you like it HOT)
- 1 large Texas sweet or Vidalia sweet onion
- 4-5 cloves of garlic (about 4t minced if you use jarred instead of fresh...either works)
- a handful cilantro (more or less depending on how much you like that flavor)
- 1 small can tomato paste (use ½-whole can depending on ripeness of tomatoes and for thickening)
- ¼ C white vinegar
- ¼-1/2 C sugar
- 1-2 T kosher or sea salt
- Place ingredients in a food processor or blender (hand chop if preferred)
- Blend to desired consistency
One way to add flavor to meat is to use a marinade. A marinade is made by combining an oil, an acid and spices. Historically, people used marinades to both tenderize and flavor meat. More recently, however, it has been discovered that marinades don’t really have an effect on how tender the meat is. The cut and quality of the meat and how it is cooked determines how tender it will be. In fact, if certain meats are left in a marinade too long the tissue will break down and the meat will be grainy. Even after soaking several hours, marinades only soak into the outer layers of the meat, not clear through, so it is important that you use a high quality piece of meat to really get the best flavor. Remember that, for steaks, the more marbled with fat the piece is, the more natural flavors you will have.
Now, here’s where the fun starts. You can use any combination of your favorite oil, acid and spices to make your marinade. I prefer a high quality olive oil, and am able to purchase them at a local gourmet olive oil and vinegar shop, The Olive Twist. The acid can be a vinegar, wine, liquor or citrus juices. Some of my favorites are balsamic vinegar, a Chardonnay or Cabernet Sauvignon, whiskey, tequila or lemon/lime juice. Which I use, depends on the type of meat and the flavor I’m trying to achieve. For example, for jerk chicken, I would use olive oil, lime juice, rum or tequila and Caribbean style spices such as all spice, cinnamon, cloves, garlic, nutmeg, habanero chiles, and thyme. More often than not, my marinades are a combination of what I have on hand.
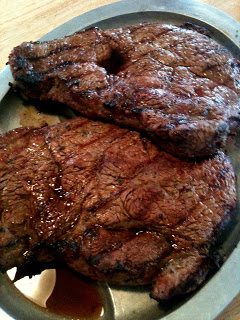
A warm day last weekend, contributed to a craving for steaks on the grill (which my former husband would eat six days a week, with Mexican food on the seventh day, if meal planning was up to him!). So, a quick trip to the grocery store for beautifully marbled ribeye steaks cut an inch thick, and some potatoes and salad ingredients, and we were ready to cook! I chose a whiskey marinade because we had some tasty Jameson Irish Whiskey on hand. I decided to keep it simple, but because of the strong flavor of whiskey, chose to use garlic and pepper to compliment it.
Whiskey Marinade:
(amount of each ingredient would vary depending on the quantity of meat, this was for two 16oz steaks)
1/2 C your favorite Whiskey
1/4 C Olive Oil
1 T minced fresh garlic
1 T course ground black or rainbow peppercorns
1 T dried parsley
Mix all of the ingredients in a large zip close bag. Add the steaks turn and massage so that the marinade covers the meat. Refrigerate for 2-4 hours, turning bag occasionally.
To get a flavorful char on the meat, make a dry rub using the same spices you used in the marinade and apply to the steak before grilling. Grill to your preference. For me, that means a quick 5-6 minutes per side on a medium-high grill for a medium rare steak. Sooo tasty!!
- ½ C your favorite Whiskey
- ¼ C Olive Oil
- 1 T minced fresh garlic
- 1 T course ground black or rainbow peppercorns
- 1 T dried parsley
- Mix ingredients in a large sealable bag
- Add meat
- Massage to cover the meat
- Place in the refrigerator for 2-4 hours
- Turn meat occasionally
I have sampled some of the tastiest pepper jellies and onion jellies across the country, but I was about as excited as I’d ever been when I discovered a spread made with bacon…BACON!??! yes, bacon…the Cadillac of meat! The sole reason I can’t become a vegetarian. I first saw the product on a web site dedicated to all products BACON. Then, one day I was eating a gourmet grilled cheese sandwich at a local brew pub that had spinach and bacon on it. The bacon pieces were difficult to eat on the sandwich and would pull out when I tried to take a bite. That’s when I thought, “that bacon spread would be perfect for this!” I searched and searched, and finally found several recipes. My favorite came from the food blog, Not Quite Nigella. And, after some adaptations, I made a jar of one of the…well, yummiest is the best descriptor I have right now, condiments ever! Now, this recipe is not quick, but the end result is well worth the 2+ hours of cooking. It’s also not inexpensive…one pound of bacon is reduced to a jelly jar or two. Having the house smell like bacon for nearly three hours was definitely a bonus though!
 Since this is a blog dedicated to the use of herbs and spices in cooking, I suppose I should mention the several used to make this wonderful concoction: garlic, peppercorns, red pepper flakes, and brown sugar. Be sure you are using the best type and quality ingredients for the tastiest end result. I use fresh garlic cloves, and bunches of them, of course. As I’ve mentioned in previous blogs, I prefer rainbow peppercorns and fresh coarse grind them to get the true essence of the pepper in the recipe. Red pepper flakes should be RED. If they are orange or brown, they are old and won’t be as potent. I purchase my red pepper flakes at our local farmer’s market and they’re so fresh, my eyes water when I open the zippy bag and put them in a jar. I can add the fresh flakes to pepper flakes I have that may be a little old, and after a day, the older flakes will absorb the essential oils and be refreshed. Lastly, anytime I use brown sugar in a recipe, including marinara sauce, salsa and barbecue sauce, I use dark brown sugar. The dark brown sugar gives a deeper more molassesy flavor (yes, another made-up food word!).
 Spicy Apple Smoked Bacon Jam
1lb smoked bacon (you can use extra smoked or just add liquid smoke for a more smokey flavor)
1 sm Vidalia sweet onion sliced thin
 1 sm red/purple onion sliced thin
6 cloves garlic rough chopped
3 T dark brown sugar
1/2 T crushed red pepper flakes
1 T coarse ground rainbow peppercorns
Tabasco to taste
Liquid Smoke to taste
1/4 C apple cider vinegar
1/4 C Maple syrup
1 C coffee
1C apple juice

 Fry bacon until just starting to crisp and turning a pink/brown. I recommend using a heavy cast iron skillet for the best results. If it is not coated or non-stick, you will need to babysit the jam as it reduces to be sure it isn’t sticking. You do not want to over-cook the bacon because it will continue to cook for the next couple hours.
Remove bacon to a paper towel lined plate. Reserve the renderings for sauteing the onions and garlic. Clip the bacon into 1/2 inch pieces with kitchen shears.

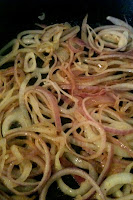 Saute the onions in the bacon grease until translucent and just browning on the edges. When the onions are nearly translucent, add the chopped garlic. Garlic will become bitter if over-cooked, that’s why I add it later in the cooking process. Continue cooking until the garlic is soft and begins to brown.
Add the bacon back into the onion and garlic mixture. Add the remaining ingredients, except for the apple juice…it will be added as the mixture reduces.
Simmer over low heat for about two hours, adding 1/4 C of apple juice every half hour. Stir occasionally.
 |
| Reduced 1/2 hour |
 |
| Reduced 1 hour |
 |
| Reduced 2 hours |
Allow the mixture to cool. Pulse in a food processor until it is the desired consistency. I like it a bit “chunky.” Store in a jelly jar in the refrigerator.
There are so many uses for bacon jam. Of course, you can just eat it on bread or crackers (I just spread some right out of the pan on a piece of warm french bread fresh out of the oven!!). It makes a great appetizer spread on homemade croutons with a little Gorgonzola cheese. You can spread it with your favorite cheeses, baby spinach and thin sliced tomato to make an amazing grilled cheese sandwich. And, my family’s favorite, spread it on grilled burgers!! Mmmmmm!! The best part is that anytime you want that bacon and onion flavor on something, you just grab the jar out of the fridge…quick and easy, without the bacon frying!
- 1lb smoked bacon (you can use extra smoked or just add liquid smoke for a more smokey flavor)
- 1 sm Vidalia sweet onion sliced thin
- 1 sm red/purple onion sliced thin
- 6 cloves garlic rough chopped
- 3 T dark brown sugar
- ½ T crushed red pepper flakes
- 1 T coarse ground rainbow peppercorns
- Tabasco to taste
- Liquid Smoke to taste
- ¼ C apple cider vinegar
- ¼ C Maple syrup
- 1 C coffee
- 1C apple juice
- Fry bacon until just starting to crisp and turning a pink/brown. I recommend using a heavy cast iron skillet for the best results. If it is not coated or non-stick, you will need to babysit the jam as it reduces to be sure it isn't sticking. You do not want to over-cook the bacon because it will continue to cook for the next couple hours. Remove bacon to a paper towel lined plate. Reserve the renderings for sautéing the onions and garlic. Clip the bacon into ½ inch pieces with kitchen shears.
- Saute the onions in the bacon grease until translucent and just browning on the edges. When the onions are nearly translucent, add the chopped garlic. Garlic will become bitter if over-cooked, that's why I add it later in the cooking process. Continue cooking until the garlic is soft and begins to brown.
- Add the bacon back into the onion and garlic mixture. Add the remaining ingredients, except for the apple juice...it will be added as the mixture reduces. Simmer over low heat for about two hours, adding ¼ C of apple juice every half hour. Stir occasionally.
- Allow the mixture to cool. Pulse in a food processor until it is the desired consistency. I like it a bit “chunky.” Store in a jelly jar in the refrigerator.
